Hey Kev,
here's the measurements I've taken. I did everything in mm's with my digital caliper. The following measurements is starting right at the end of the zero fret where fretboard begins.
The first double dot inlay 82mm bass side
the first double dot inlay 83.5mm treble side
2nd double dot inlay 141mm both sides
3rd double dot inlay 195.50mm both sides
4th double dot inlay 242mm both sides
Ovtave dot inlay 304mm
1st single dot inlay 356mm
2nd single dot inlay 386mm
3rd single dot inlay 413mm
last single dot inlay 436.5mm
----------------------------------
the size of the actual dot inlays: 2mm side fretboard markers, 1.75 top fretboard markers
-----------------------------------
distance between double inlays:
21.25mm 3rd fret
22mm 5th fret
23.50mm 7th fret
25mm 9th fret
--------------------
distance between dots on the octave inlay:
14mm from bass side dot to the middle dot
13mm from the middle dot to the treble side dot
---------------------------
all measurements I've done putting the caliper to the center of the dot inlay for the most accurate reading. and all the dots are pretty accurately center on the fret board. hope this helps.
Operation JRM2 engaged
-
oipunkguy
- Master Contributor
- Posts: 2208
- Joined: Tue Jul 22, 2008 1:05 am
- Location: Winchester, Virginia
- Contact:
Re: Operation JRM2 engaged
Cheers,
Aaron
Facebook.com/aarons.guitars
"Politicians are like diapers; they need to be changed often and for the same reason."
— Mark Twain
Aaron
Facebook.com/aarons.guitars
"Politicians are like diapers; they need to be changed often and for the same reason."
— Mark Twain
-
KRamone27

- Master Contributor
- Posts: 1325
- Joined: Mon May 05, 2008 1:38 pm
- Location: Carterville, IL
- Contact:
Re: Operation JRM2 engaged
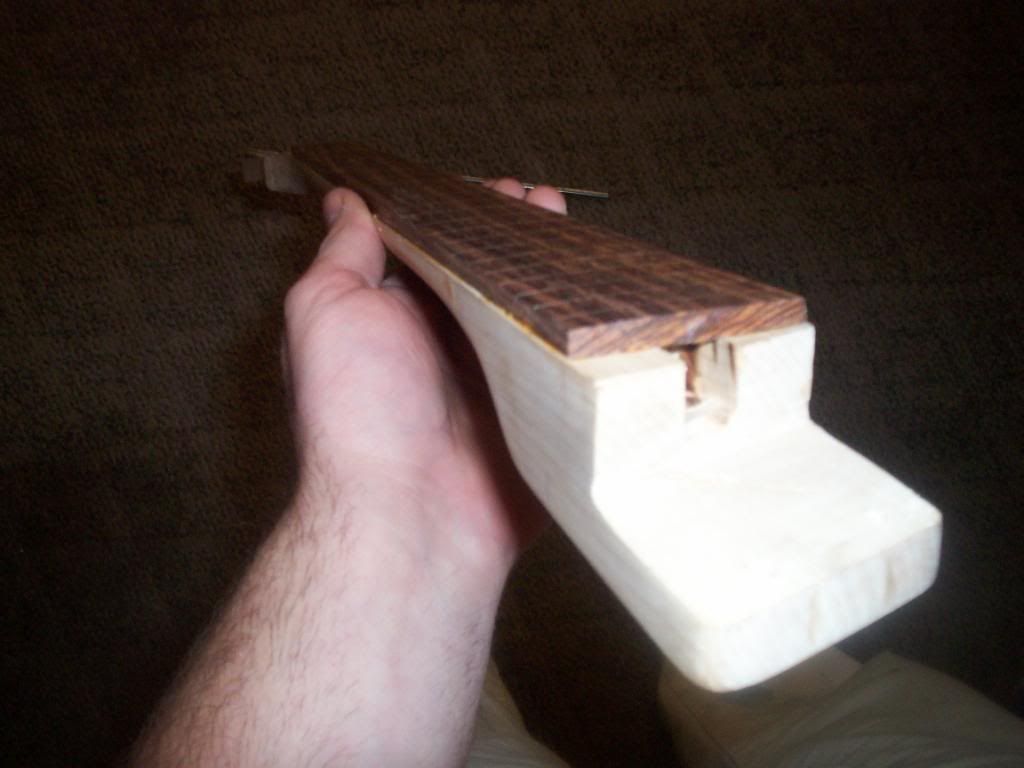
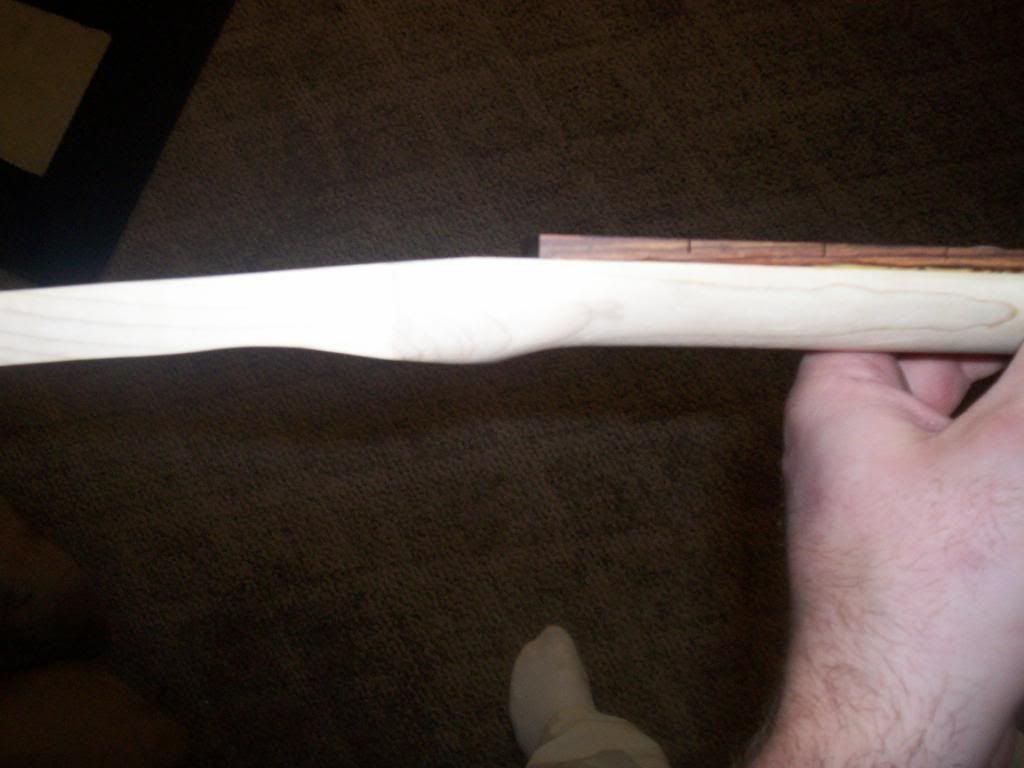
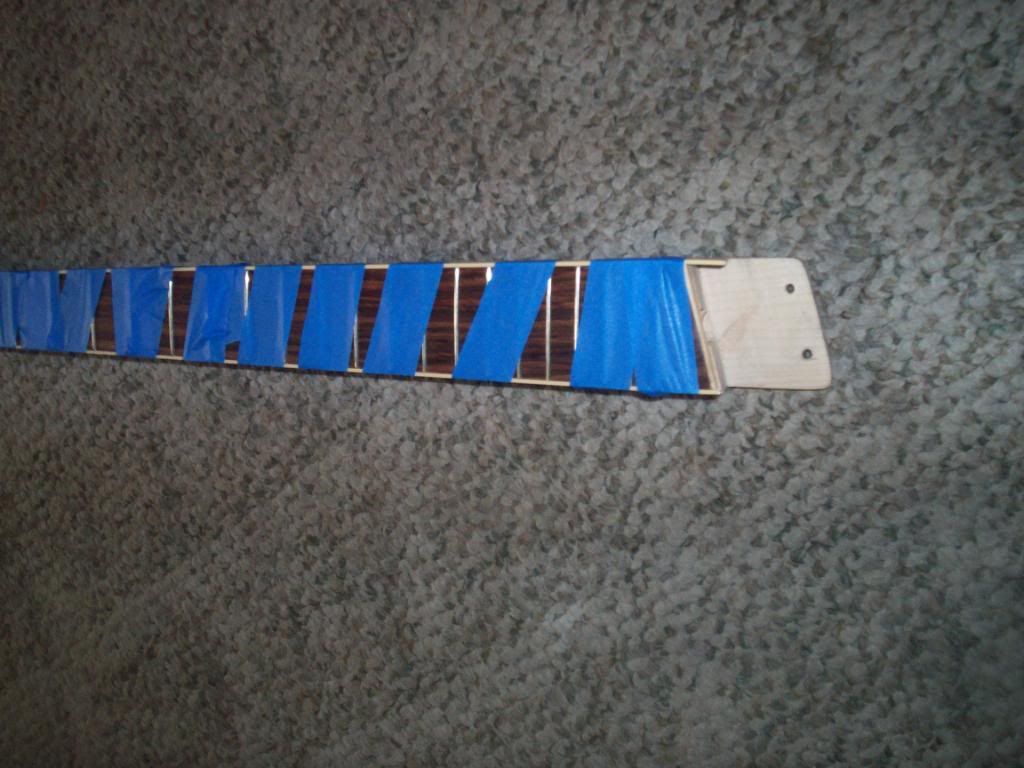
Well I guess it's time for a update. Since I've been laid off from work:( , I've had some time to focus some more time on the neck and fretboard and putting up some more pics for your viewing pleasure. Kevin
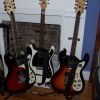
Pre slotted fingerboard and cream binding from stew mac
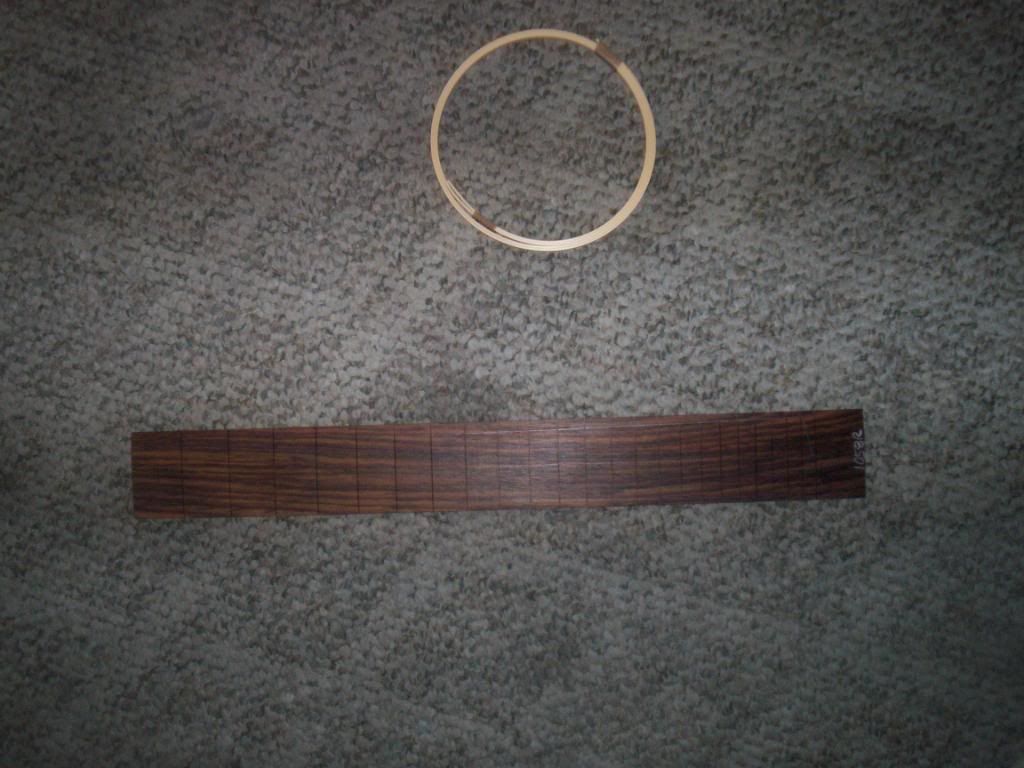
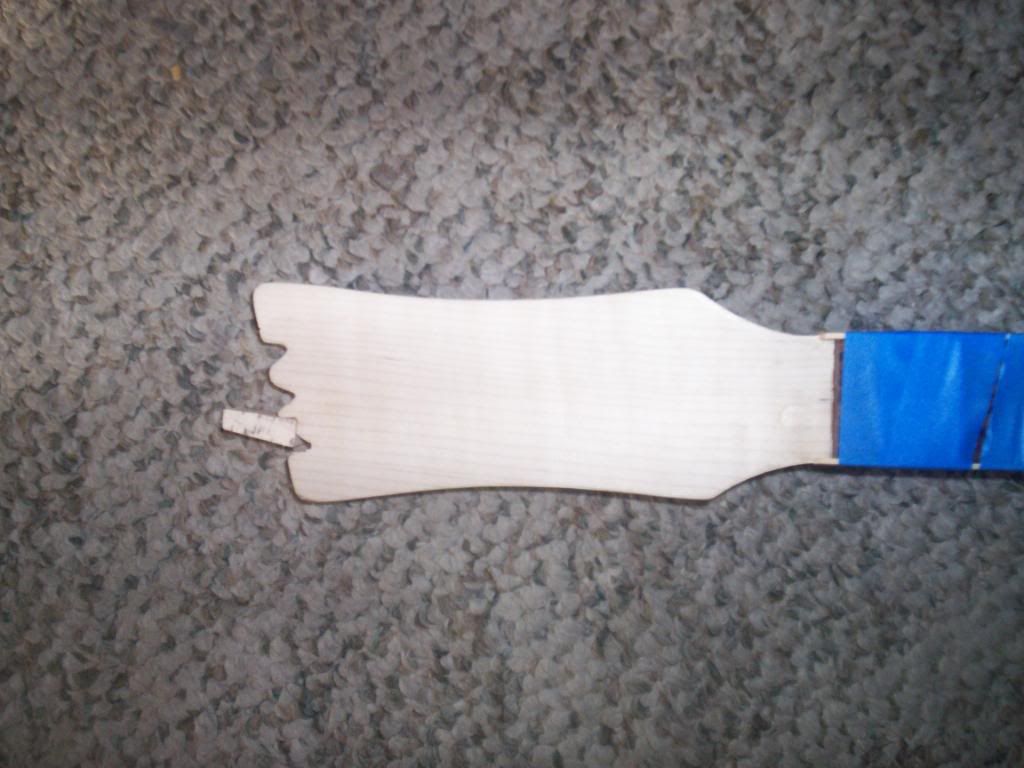
After shaping I glued and clamped it to the neck
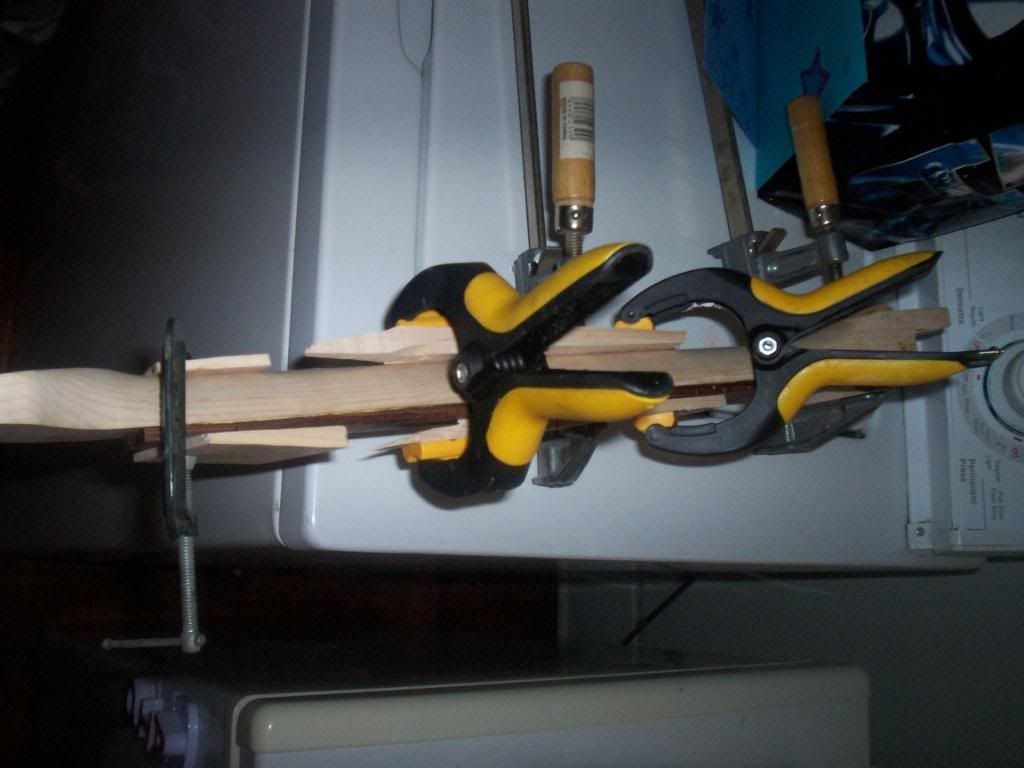
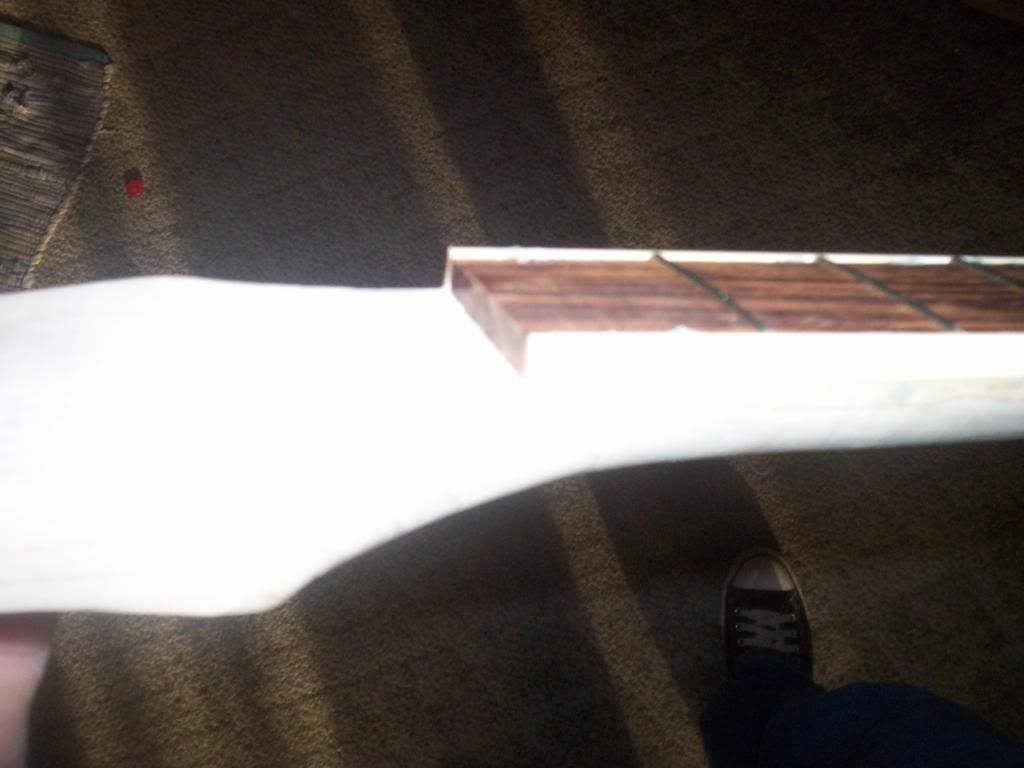
Glue has dried and here it is alongside my home made truss rod.
Pre slotted fingerboard and cream binding from stew mac
After shaping I glued and clamped it to the neck
Glue has dried and here it is alongside my home made truss rod.
-
GattonFan

- Master Contributor
- Posts: 1287
- Joined: Tue Aug 26, 2008 6:36 pm
- Location: St Louis area
Re: Operation JRM2 engaged
Nice, Kevin! Are you going to use the mandolin fretwire, or more standard size? Looking forward to seeing more of your progress on this one.
Dennis
Dennis
-
KRamone27
- Master Contributor
- Posts: 1325
- Joined: Mon May 05, 2008 1:38 pm
- Location: Carterville, IL
- Contact:
Re: Operation JRM2 engaged
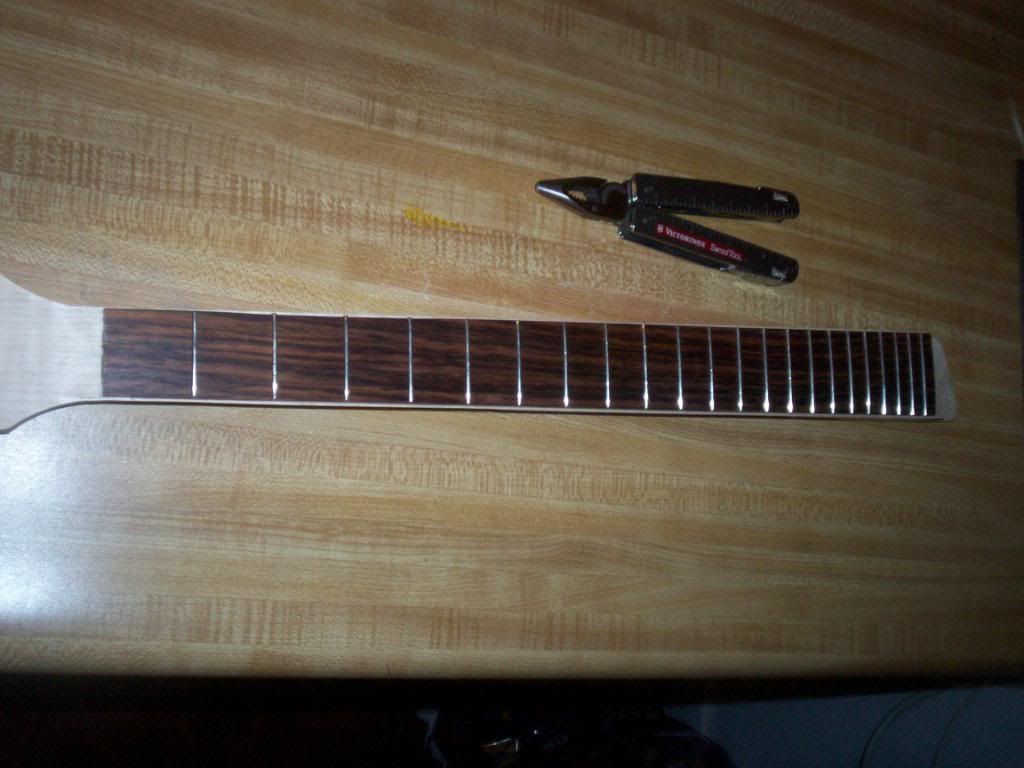
Thanks Dennis. I'm using medium sized fret wire, I fretted it last night so today I'm going to focus on putting the binding on and leveling the frets. Then after I get home from my nephews birthday party I've got some final sanding to do.
-
GattonFan
- Master Contributor
- Posts: 1287
- Joined: Tue Aug 26, 2008 6:36 pm
- Location: St Louis area
Re: Operation JRM2 engaged
It's shaping up! If that truss rod isn't what you'd like it to be, I recommend one of those like Mel got from Luthier's Mercantile, International. I got one, and it's a solid piece, that fits perfectly - and only about $20 or so.
Dennis
Dennis
-
KRamone27
- Master Contributor
- Posts: 1325
- Joined: Mon May 05, 2008 1:38 pm
- Location: Carterville, IL
- Contact:
Re: Operation JRM2 engaged
I thought about that at first but I was able to make my truss rod for under $5.00 pluss I got material for 1 more if I need one. The one I made slides in the channel I routed firmly so I don't have to worry about it rattling around in there.
-
KRamone27
- Master Contributor
- Posts: 1325
- Joined: Mon May 05, 2008 1:38 pm
- Location: Carterville, IL
- Contact:
Re: Operation JRM2 engaged
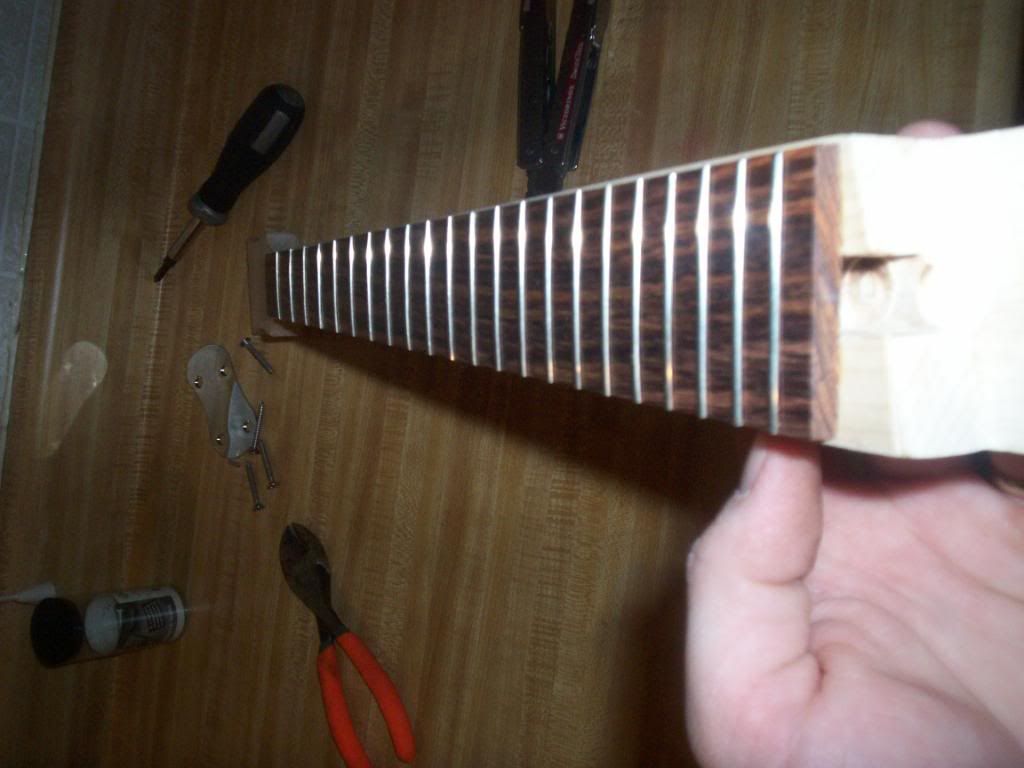
So far today I have only managed to get the binding on and trimmed the excess binding material off at the heel and headstock. Maybe I'll get to the fret leveling, final headstock shaping and final sanding done tomorrow. When I was shaping the headstock with my router I had some tear out of some of the material so I had to glue a small piece of maple back in there.


-
dubtrub
- Administrator
- Posts: 3852
- Joined: Sun May 04, 2008 10:12 am
Re: Operation JRM2 engaged
Looking good so far, Kevin.
A few questions,
1. What scale length was the precut fret slots?
2. How are you going to install and dress the fret markers now that is fretted?
3. On the extended portion of the fret board at the 22nd fret, is there a slot for that fret?
4. Are you building the neck to go on that original 12 string body?
Keep up the good work. Every project is a self rewarding learning experience,
Danny Ellison
-
KRamone27
- Master Contributor
- Posts: 1325
- Joined: Mon May 05, 2008 1:38 pm
- Location: Carterville, IL
- Contact:
Re: Operation JRM2 engaged
dubtrub wrote:Looking good so far, Kevin.
A few questions,
1. What scale length was the precut fret slots?
2. How are you going to install and dress the fret markers now that is fretted?
3. On the extended portion of the fret board at the 22nd fret, is there a slot for that fret?
4. Are you building the neck to go on that original 12 string body?
Keep up the good work. Every project is a self rewarding learning experience,
1. Hey there Danny, the fretboard is one of those preslotted fretboards from stewart macdonald that's the gibson scale of 24-3/4" so I cut off the last two fret slots and at the very end of the 24th there was a piece of 1" scrap that I just glued at the end so I could cut the angle.
2. I still have the center line marked on the fretboard and the fret marker locations marked out so once I get them drilled out I'll and glued in I'll need to be careful in cutting off the excess marker material.
3. That slot you are seeing below the 22nd fret is where I matched up that scrap piece up with the fretboard before I sanded it down.
4. Yes I am using this neck with my twelve string body
Its been a while since I've even built a neck so I'm having to relearn a lot about it. Thanks for the kind words. Kevin
-
KRamone27
- Master Contributor
- Posts: 1325
- Joined: Mon May 05, 2008 1:38 pm
- Location: Carterville, IL
- Contact:
Re: Operation JRM2 engaged
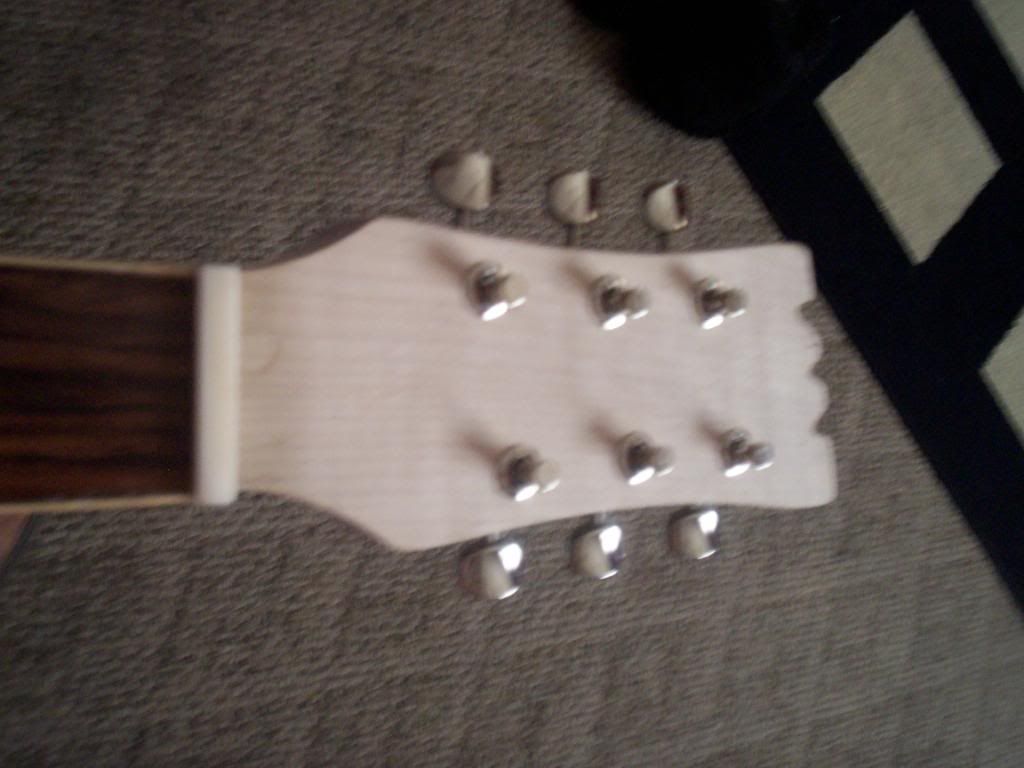
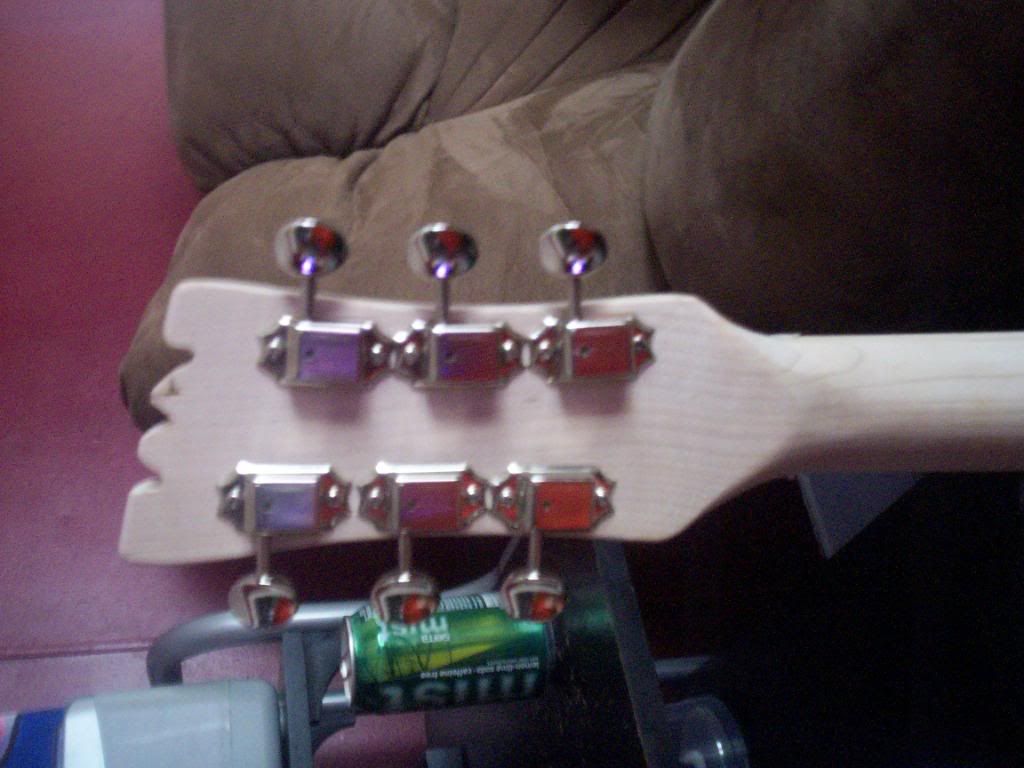
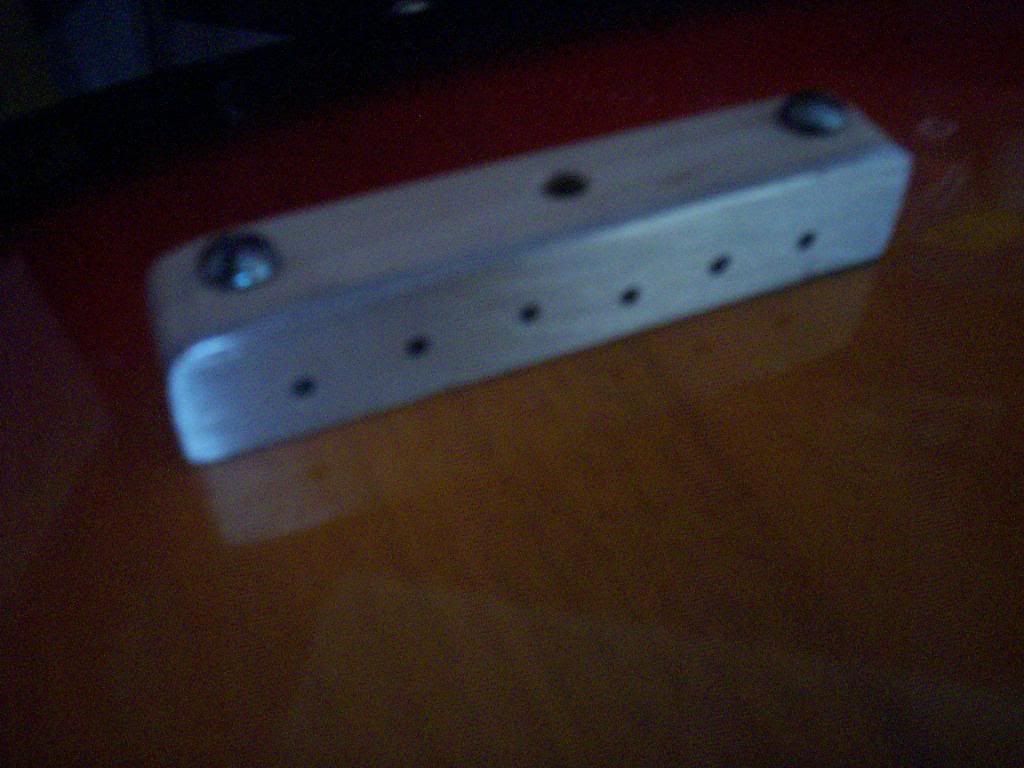
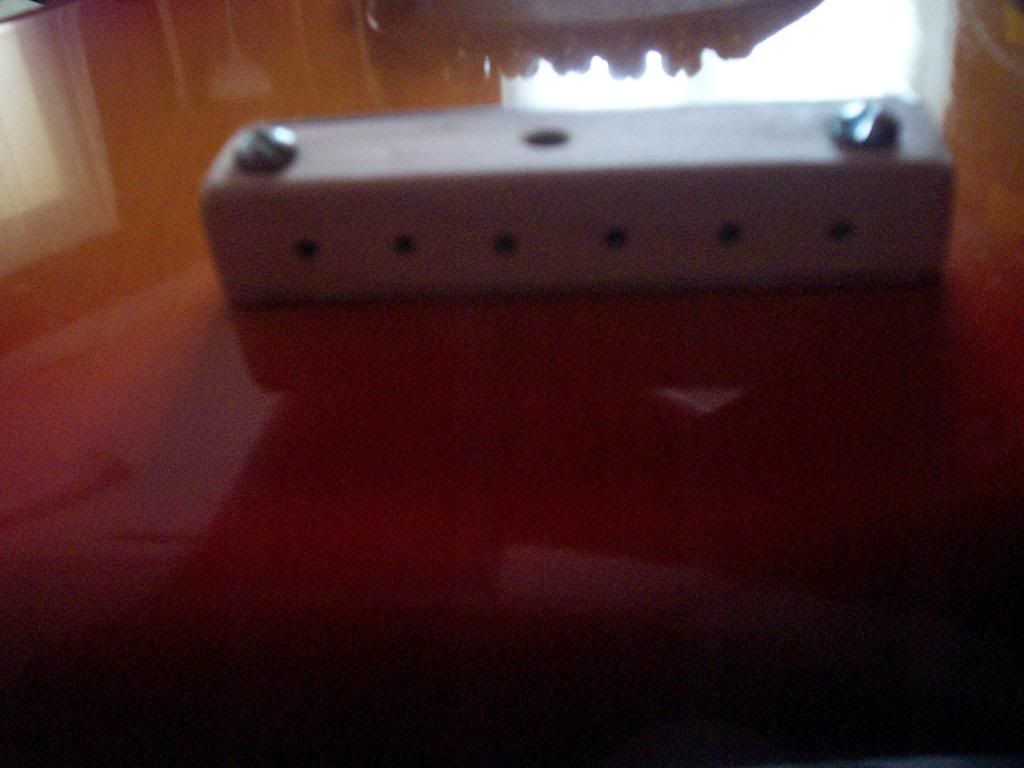
Got a little bit more done the past couple days. I got the tailpiece made, holes for the tuners drilled and installed the tuners and the nut installed. Hopefully this weekend I'll be able to get the nut slotted. The tailpiece I made out of the scrap maple that I had from the neck and some L-shaped aluminum, the nut I made out of bleached bone, the tuners are vintage style Gotohs.
Return to “Mosrite & Clone, Projects, Parts & Accessories Q&A”
Who is online
Users browsing this forum: No registered users and 118 guests