OK, after playing the VIII for a couple of weeks, I came back around to finish up and do some fine tuning. First, I installed the side dot markers. Many thanks to dubtrub for the dot marker plastic.
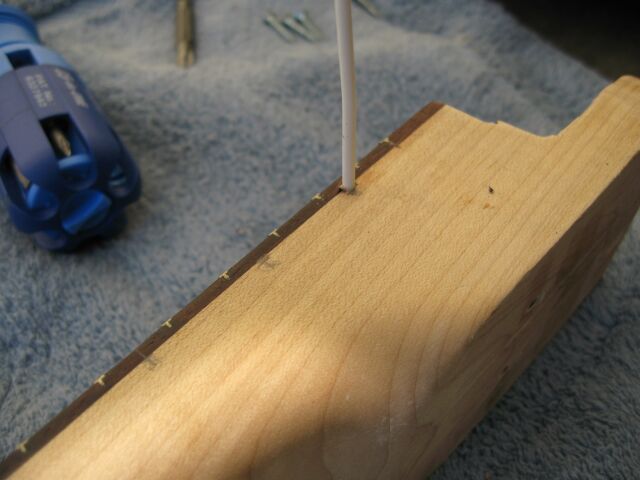
First off, I marked the locations of the dots. I aim was to have them centered between the frets and half in the rosewood.
I drilled the holes, put glue on the plastic rod, and pushed it in. Then I clipped the ends and sanded them smooth. Note, it's a good idea to drill a pilot hole as the drill bit can wander and get off center. This happened on one of my markers, but fortunately it's not that obvious.
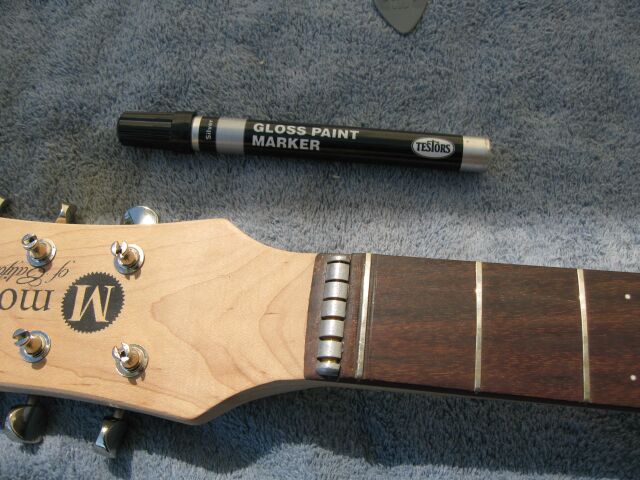
Next, I figured I'd try painting the string nut. Properly it should be plated or chromed, but I'm lazy, so I gave this a try. Of course, it wore off within days.
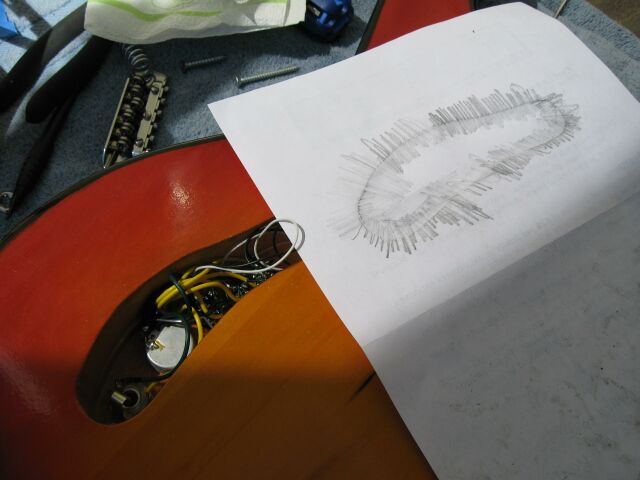
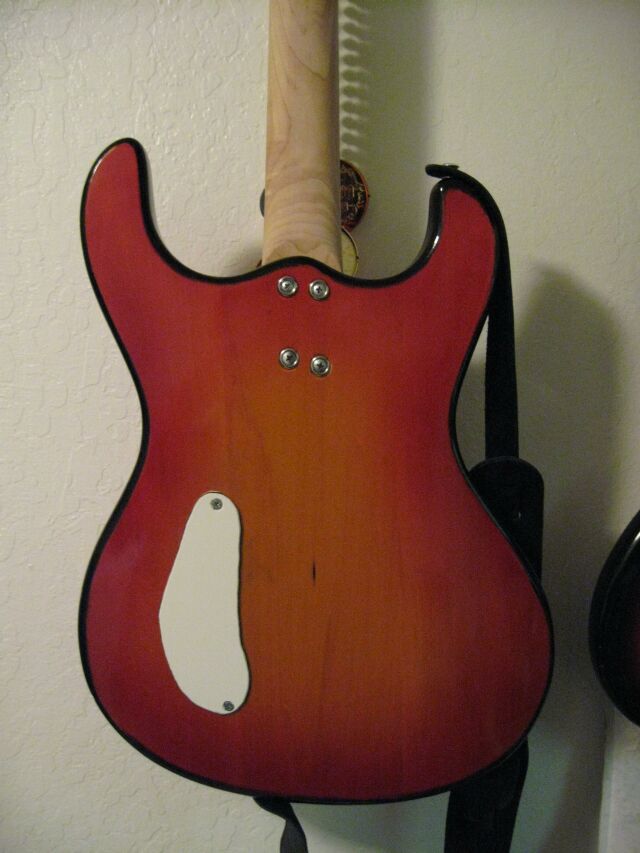
The next task was shaping a control cavity cover. I used a pencil rubbing to put the cavity shape on paper, and then made an outline on a piece of pickguard material (again, thanks dub!)
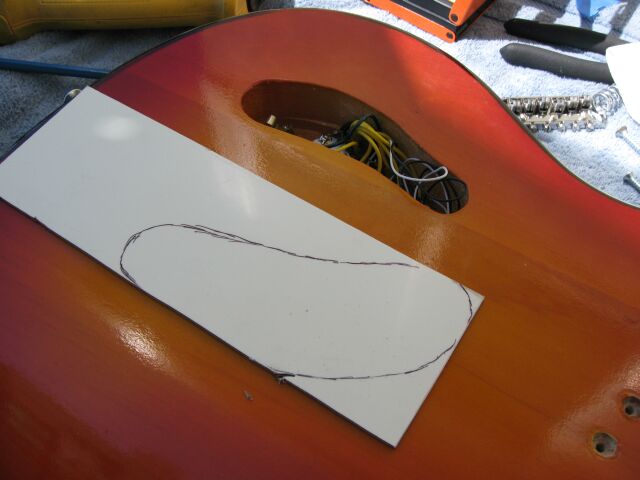
Here's the cover installed. Not perfect, but generally ok. Also note I added gromets to the neck screws.
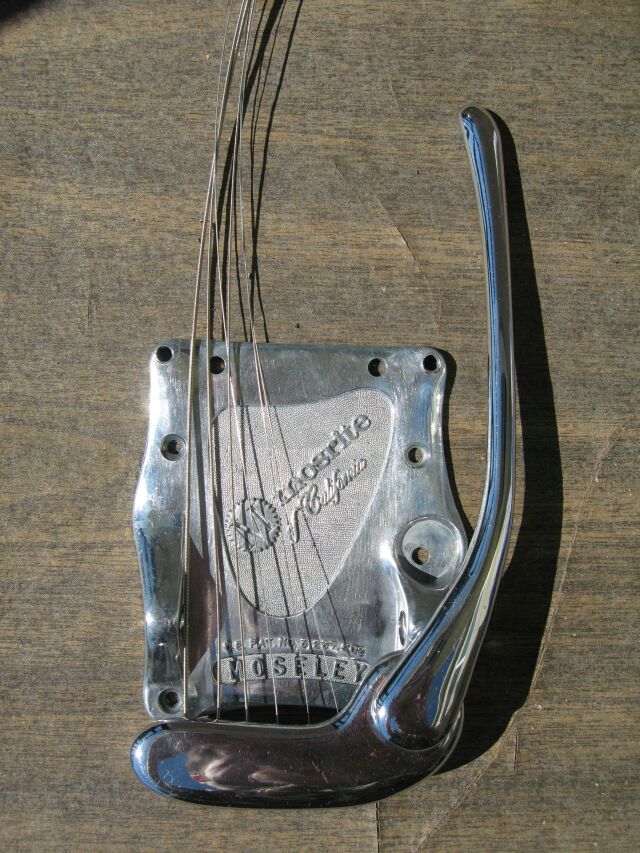
Next up, another round of polishing the vibrato plate. I used jeweler's rouge and a dremel. It's better than it was but not quite up to chrome standards. I may come back to polish this more at some point.
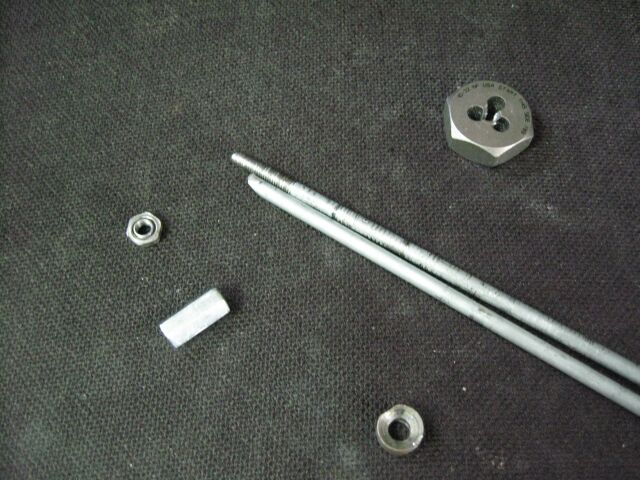
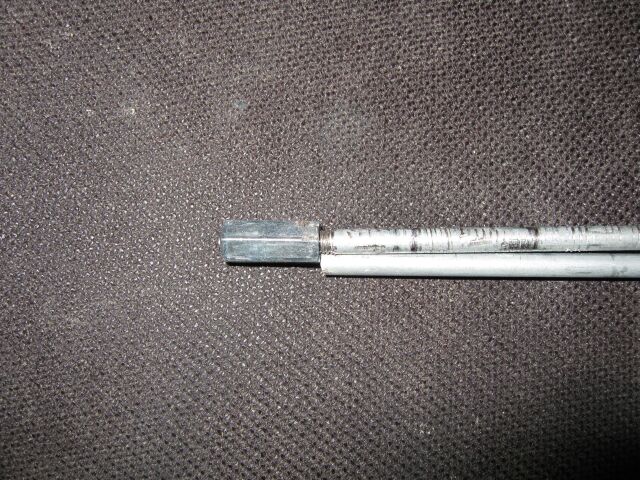
Now, the truss rod has been a source of some grief for me. It seems that a single nut does not have enough strength to bend the rod in any useful way. I tried fitting a stew-mac dual-action truss rod, but the channel is about 1/32 too narrow to fit the rod. How do I know? I tried to force it in, got it stuck and managed to break off the fretboard at the 22nd fret in the process of removing it. Thankfully it was a clean break and with some wood glue, C clamps and time I got it back together. So... I figured I'd have to work with the initial rod. I decided to see if a longer nut would provide the necessary grip to hold the truss. I got a 10-32 thread cutter to extend the thread on the rod and a connector nut. Here's the rod with the original nut and angled washer, the connector nut and the threadcutter.
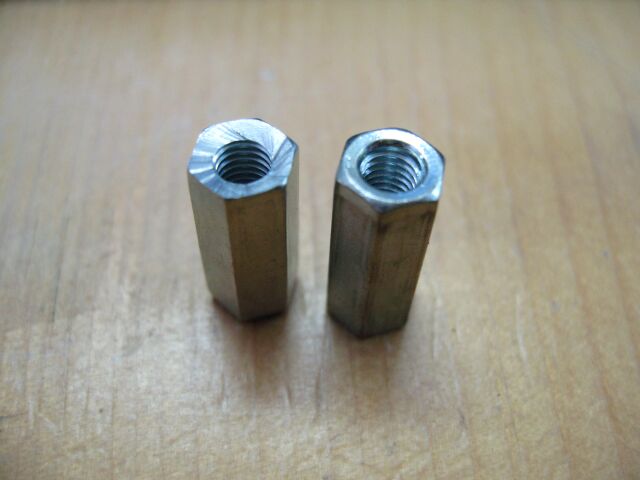
The original nut worked with an angled washer to keep the other side of the rod from popping out. To replicate that I tried to add a bit of angle to the connector nut. Here's the angled nut next to an untouched one. I used an oversized drill but to create the angle.
Here's the new nut fitted. I shortened the other end of the truss rod so there's be plenty of thread for the nut to grab. On install I was able to get the neck profile flatter than before, so I guess I'd call this a success.
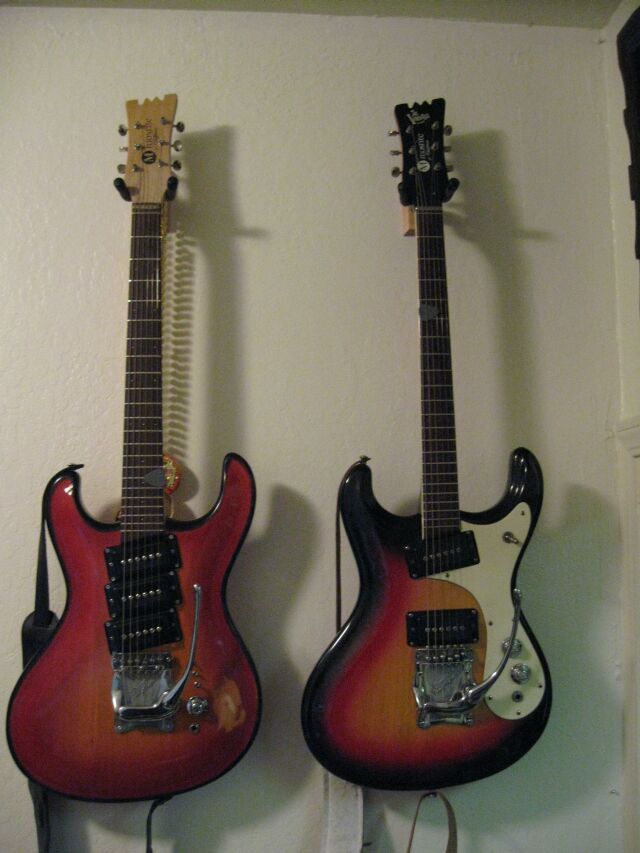
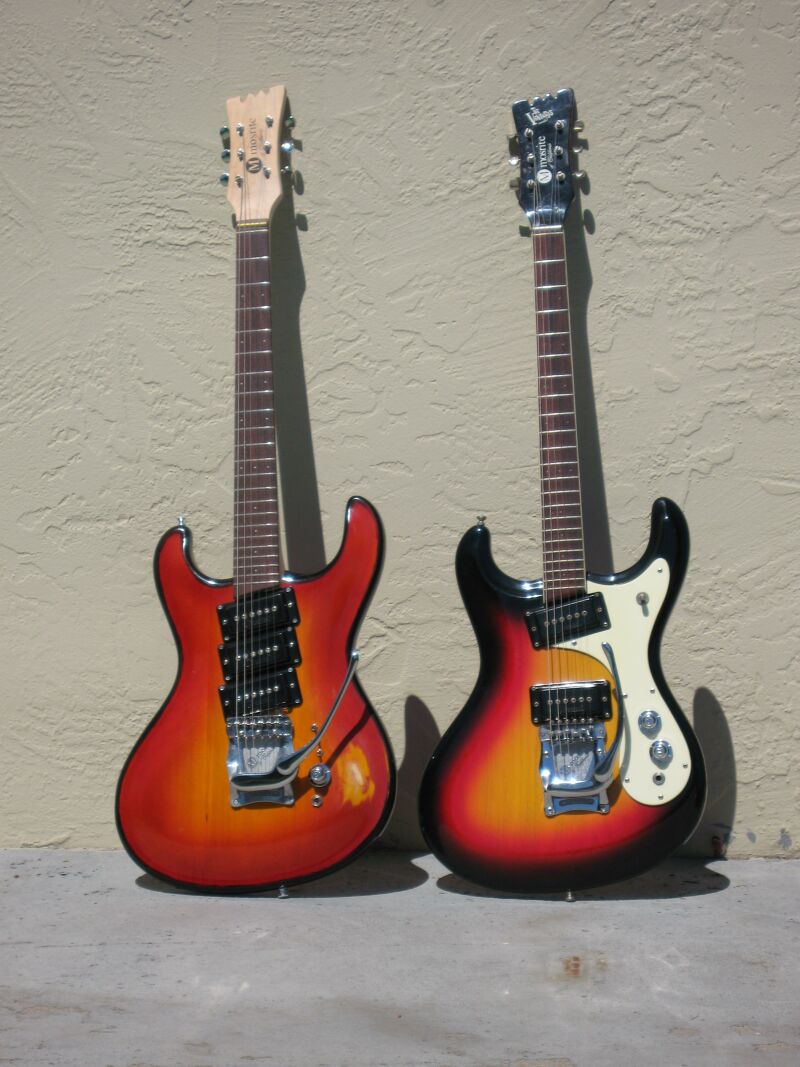
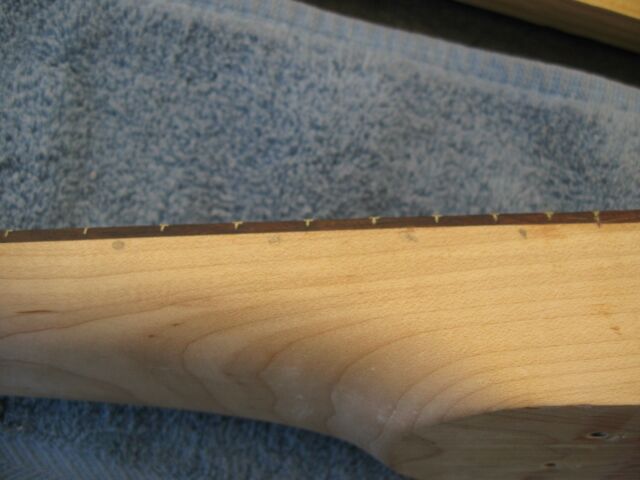
Not pictured in the work was a neck reshaping, using calipers to get closer to the vintage Mosrite profile and a bit more filing of the frets along the edge of the neck. Using the calipers I measured the '66 neck at 24/32 from the first fret all the way to the heel. I was able to match that at the first fret, but mine widens out to a bit over 26/32 beyond the 12th fret. Still a closer approximation. Here are the two together again: