The body is made of two pieces of alder which I purchased last summer from a wood supplier in Washington state. At that time the wood was freshly cut, so it has been curing for a year and is now ready for building. After gluing the two parts together I took it to a cabinet shop and had them plane both sides to a thickness of 1 5/8". Actually there are three pieces glued together as I needed another 1 1/4" for the upper rear bout.
Here you see that the shape has been drawn onto the wood and band sawed to rough shape. After this it will go to the drill press where I'll mount a 2" drum sander to final shape it. If I was using a template, this is where I would use a router to trim to final shape. You can see the pickguard drawn on the body. I will be using a 1/2" router bit to create the German carve, so using that measurement and a pattern, I draw the pickguard in place in order to determine the neck pickup location. It also provides a good reference for locating everything else. The main thing needed is a center line drawn from the center of the neck pocket to the strap button on the bottom end of the body. Without a center line it is virtually impossible to do a proper layout for all the parts to fit or line up. Otherwise you will be drilling holes and filling them in.
https://imageshack.com/i/8bdscn0070no4j
http://imageshack.com/a/img58/4931/dscn0074wy0.jpg
https://imageshack.com/i/41dscn0082rx5j
For the neck I'm using (3) 1"X2" hard rock maple boards laminated together. Due to barely having enough material for the length of a bass neck, it was necessary to stagger the boards when gluing them together in order to have sufficient wood for the offset angle of the headstock and body end of the neck. Next I will rout the truss rod channel.
https://imageshack.com/i/1mdscn0075ol3j
In the following photo you can see the paper pattern for the headstock and it along with center lines for referrence has been drawn on the neck board. Also you can see the blank rosewood fretboard.
https://imageshack.com/i/8bdscn0072ud7j
I have now cut the fret slots. This is a simple jig which is basically a miter box, however it is made so that the modified rib back saw will only cut so deep before stopping. I modified the saw by grinding down the edges of the saw teeth to the necessary width for the fret slot.
https://imageshack.com/i/8bdscn0076ae8j
Next I will be routing the truss rod channel and modifying an existing trussrod to fit the requirement for this particular scale length which is 30 1/4". I use a dial micrometer and the fret scale calculator on the Stewart McDonald website to determine the exact measurements for each fret slot.
Questions or comments are welcomed throughout this project.
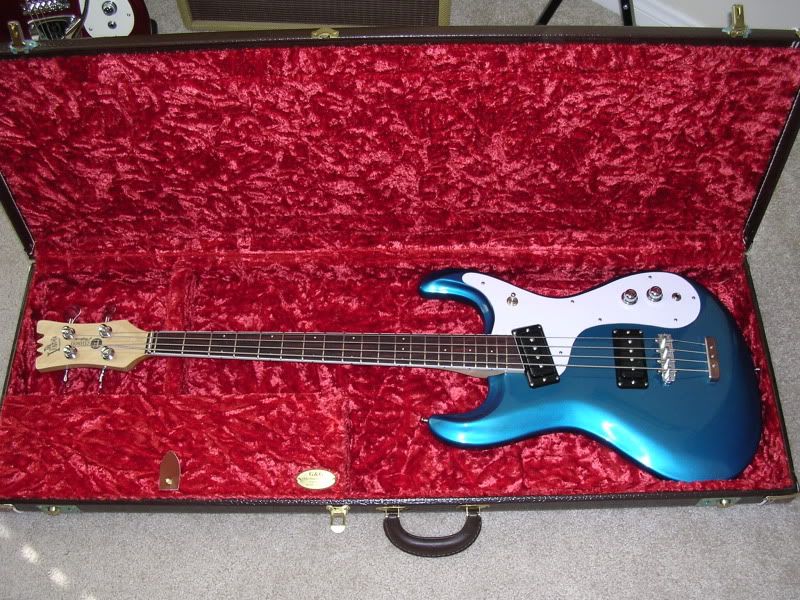
EDITED: Since this project has now been completed I'll post a photo of the finished product, but please continue through the other photo's of the building process.


