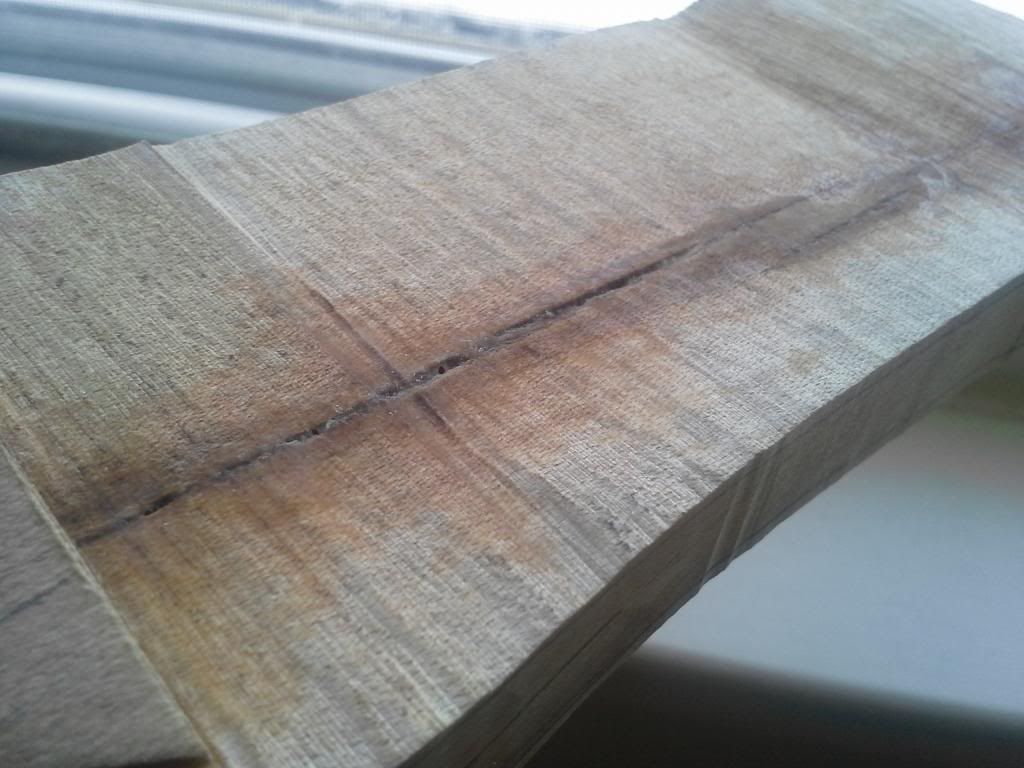
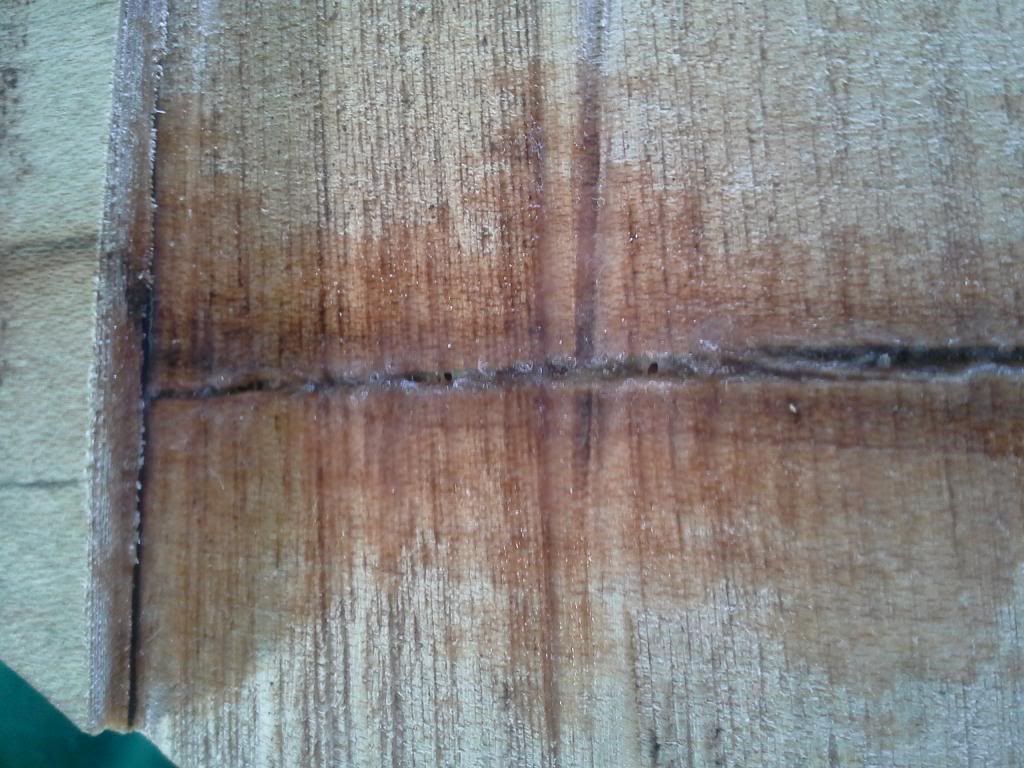
WOOD ROT! suggestions.

User avatar
cmiller0034
Top Producer
Posts: 219
Joined: Tue Oct 15, 2013 1:44 pm
Location: Louisville, Ky
Contact:

WOOD ROT! suggestions.

Postby cmiller0034 » Tue Feb 04, 2014 12:46 pm

Image


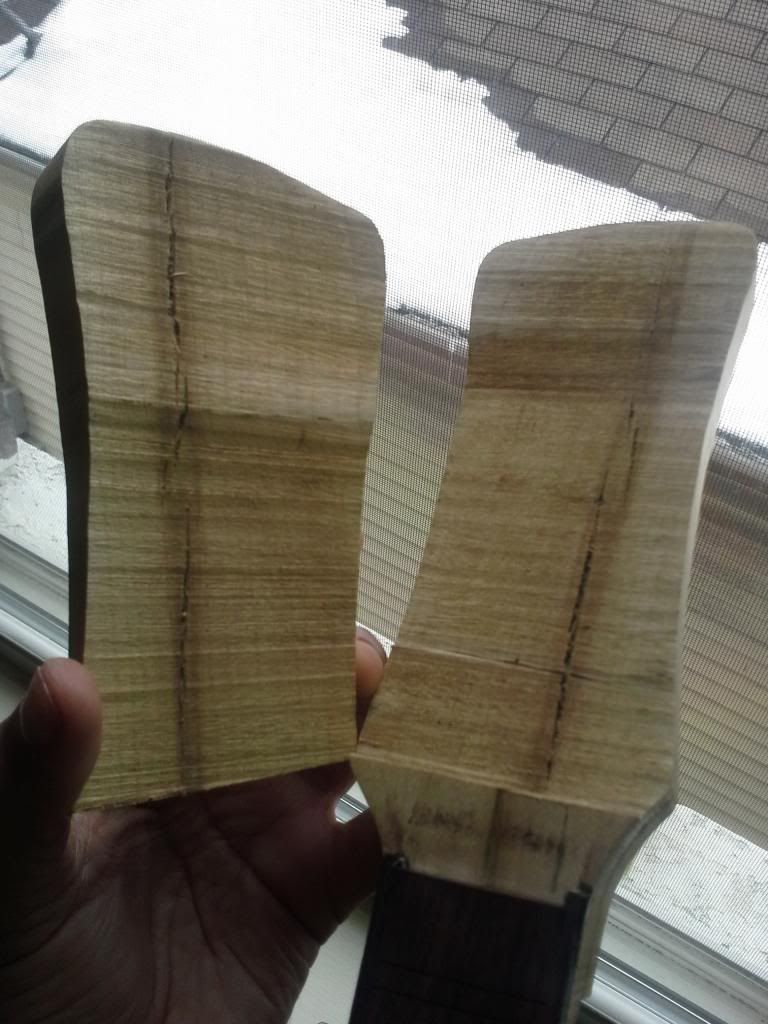
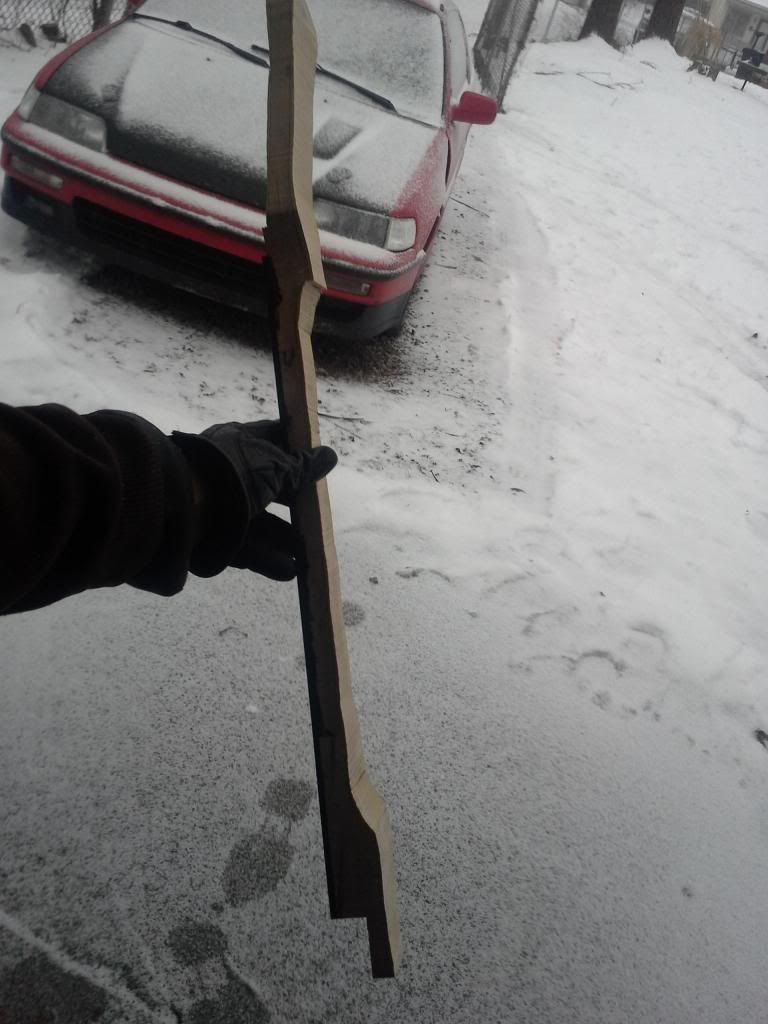
So I'm just minding my business, right. Rough cutting this guitar neck on my band saw, right. Everything thing was going swell until.


re-enactment: *Whistle* Whistle* Whistle* "Wow here I am cutting wood on my bandsaw. Things are sure looking good. This thing is starting to look like an actual guitar. What could possible go wrong at this point?" :D
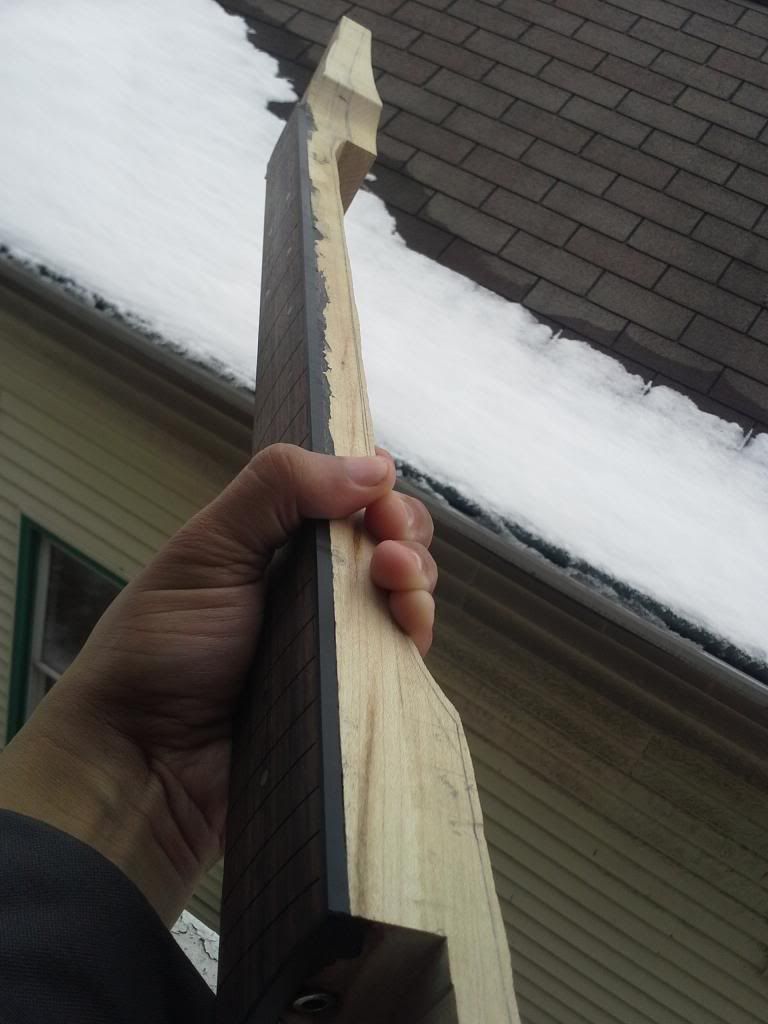
Image

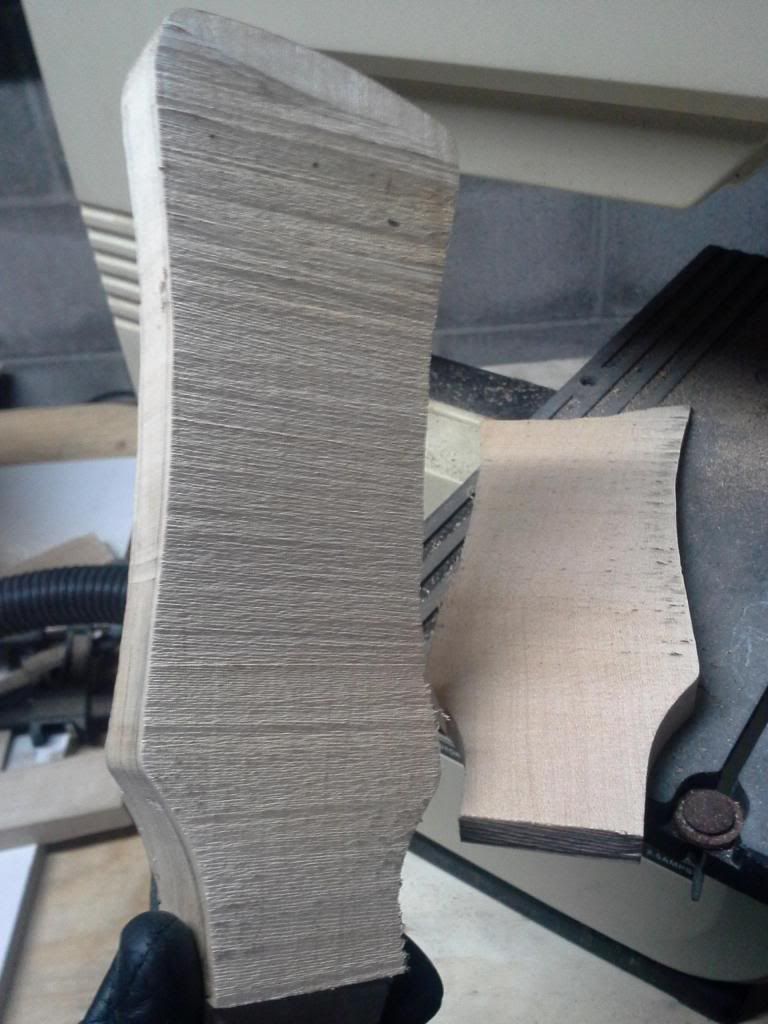
"Alright done with the bottom time to cut out the top of the headstock. This thing sure looks good!"
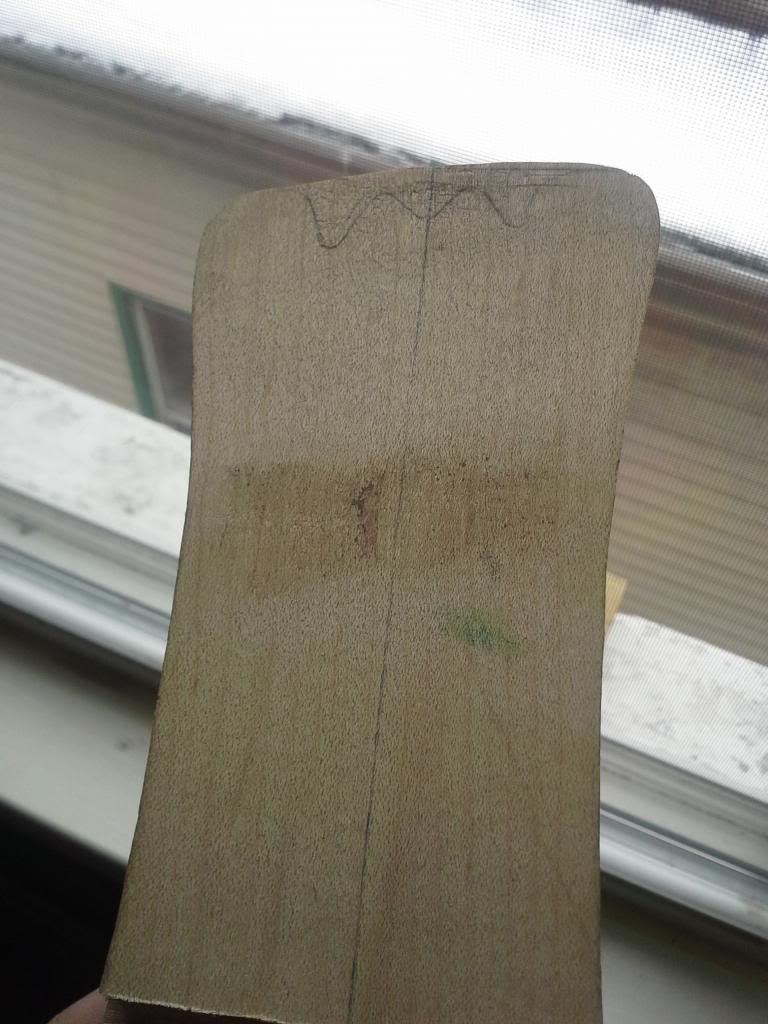
Image

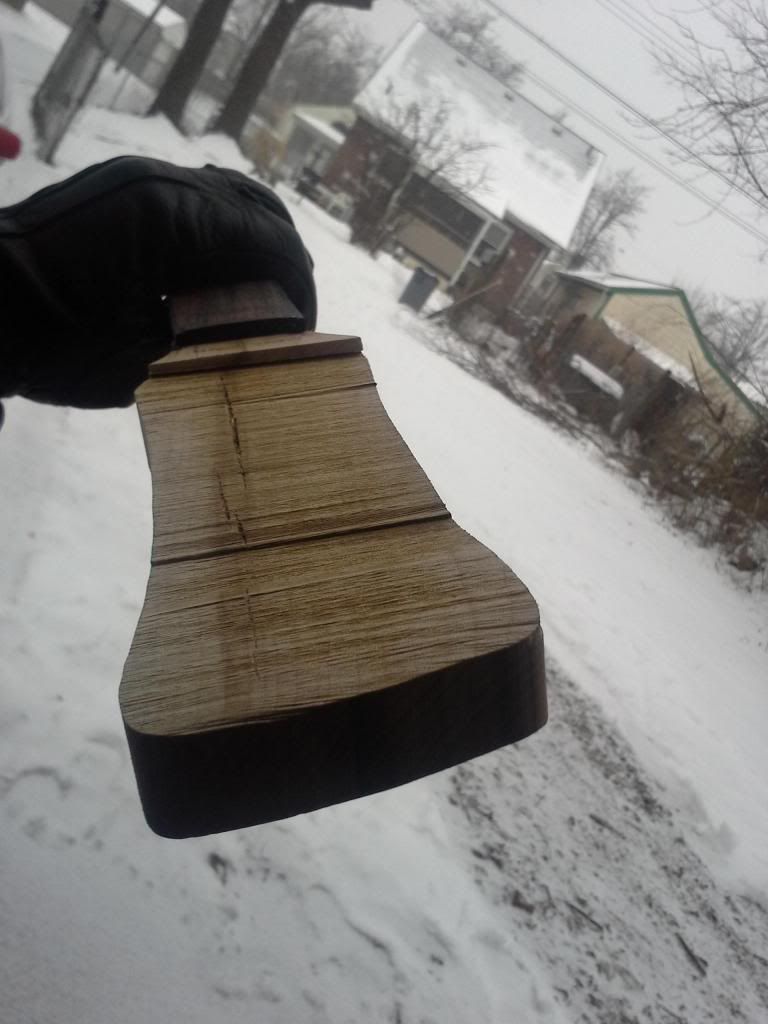
Wait... What?! NOOOOOOOOOOOOOO!

Image


Image

...........................................................................................................


This had some interesting suggestions. Wood hardener or superglue. Anyone else have any ideas?
http://www.offsetguitars.com/forums/viewtopic.php?f=42&t=60805
"If the women don't find you handsome, they should at least find you handy."- a wise man

Bob Shade
Master Contributor
Posts: 1364
Joined: Wed Jan 21, 2009 11:53 am
Location: Md
Contact:

Re: WOOD ROT! suggestions.

Postby Bob Shade » Tue Feb 04, 2014 1:11 pm

I have had this happen before too. Rather than toss the neck into the bin, you can do this:
Clamp the wood together, then fill it with super thin super glue (it will go in all the little cracks nooks and crannys and eventually fill everything up) and keep applying it until the crack fills up with the liquid glue and does puddle down into the crack any longer. Let it dry overnight and you are ready for more fun and dusty excitement. This will be a permanent bond and will never come loose. You can also sand and paint over top of it with no problem whatsoever.

Best o luck!

Bob

User avatar
cmiller0034
Top Producer
Posts: 219
Joined: Tue Oct 15, 2013 1:44 pm
Location: Louisville, Ky
Contact:

Re: WOOD ROT! suggestions.

Postby cmiller0034 » Tue Feb 04, 2014 1:49 pm

Bob Shade wrote:I have had this happen before too. Rather than toss the neck into the bin, you can do this:
Clamp the wood together, then fill it with super thin super glue (it will go in all the little cracks nooks and crannys and eventually fill everything up) and keep applying it until the crack fills up with the liquid glue and does puddle down into the crack any longer. Let it dry overnight and you are ready for more fun and dusty excitement. This will be a permanent bond and will never come loose. You can also sand and paint over top of it with no problem whatsoever.

Best o luck!

Bob


Bless you Bob "the blade" Shade. Bless your rosewood heart. :)

Ill try it tonight. I guess clamping the head stock together will compress the crack together and make for easier for the CA to bond? I got Maple dust I have been collecting as well in case of such an event.


I Want to get this done so I can start Rockin' (or at least continue practicing)

Image

Thanks for the tip Bob Shade!!!!!!!!!!
"If the women don't find you handsome, they should at least find you handy."- a wise man

Bob Shade
Master Contributor
Posts: 1364
Joined: Wed Jan 21, 2009 11:53 am
Location: Md
Contact:

Re: WOOD ROT! suggestions.

Postby Bob Shade » Tue Feb 04, 2014 2:34 pm

Yes you should clamp it first so when you apply the glue it will bond in place. If you clamp it after the super glue may not give you enough work time, also the super thin will travel into the wood even when clamped. I would stay away from dust and glue for this repair. The way I described will make a super tight bond and it will be bullet proof. With the mixed dust and glue it will not get into all the little cracks.

Bob

User avatar
cmiller0034
Top Producer
Posts: 219
Joined: Tue Oct 15, 2013 1:44 pm
Location: Louisville, Ky
Contact:

Re: WOOD ROT! suggestions.

Postby cmiller0034 » Tue Feb 04, 2014 3:27 pm

Bob Shade wrote:Yes you should clamp it first so when you apply the glue it will bond in place. If you clamp it after the super glue may not give you enough work time, also the super thin will travel into the wood even when clamped. I would stay away from dust and glue for this repair. The way I described will make a super tight bond and it will be bullet proof. With the mixed dust and glue it will not get into all the little cracks.

Bob


I obey.
Image

srry. been watching alot 1960's Dr. Who lately
"If the women don't find you handsome, they should at least find you handy."- a wise man

User avatar
cmiller0034
Top Producer
Posts: 219
Joined: Tue Oct 15, 2013 1:44 pm
Location: Louisville, Ky
Contact:

Re: WOOD ROT! suggestions.

Postby cmiller0034 » Tue Feb 04, 2014 4:01 pm

I don't feel like posting pics at the moment, I'm exhausted after a day's work. The rot does not go all the way through my head stock. Might not be very deep at all. With all the Ice and Sleet coming down work might not happen tomorrow. So maybe tomorrow will be crack repair day. I will use bob's method of repair and upload the results here.
"If the women don't find you handsome, they should at least find you handy."- a wise man

User avatar
BlackieOnasis
Regular Member
Posts: 49
Joined: Mon Feb 07, 2011 5:35 pm
Location: Missouri
Contact:

Re: WOOD ROT! suggestions.

Postby BlackieOnasis » Tue Feb 04, 2014 7:19 pm


User avatar
cmiller0034
Top Producer
Posts: 219
Joined: Tue Oct 15, 2013 1:44 pm
Location: Louisville, Ky
Contact:

Re: WOOD ROT! suggestions.

Postby cmiller0034 » Fri Feb 07, 2014 11:51 am

The other side of the headstock no visible rot.

Image

Image

Image


more ice storms
Image


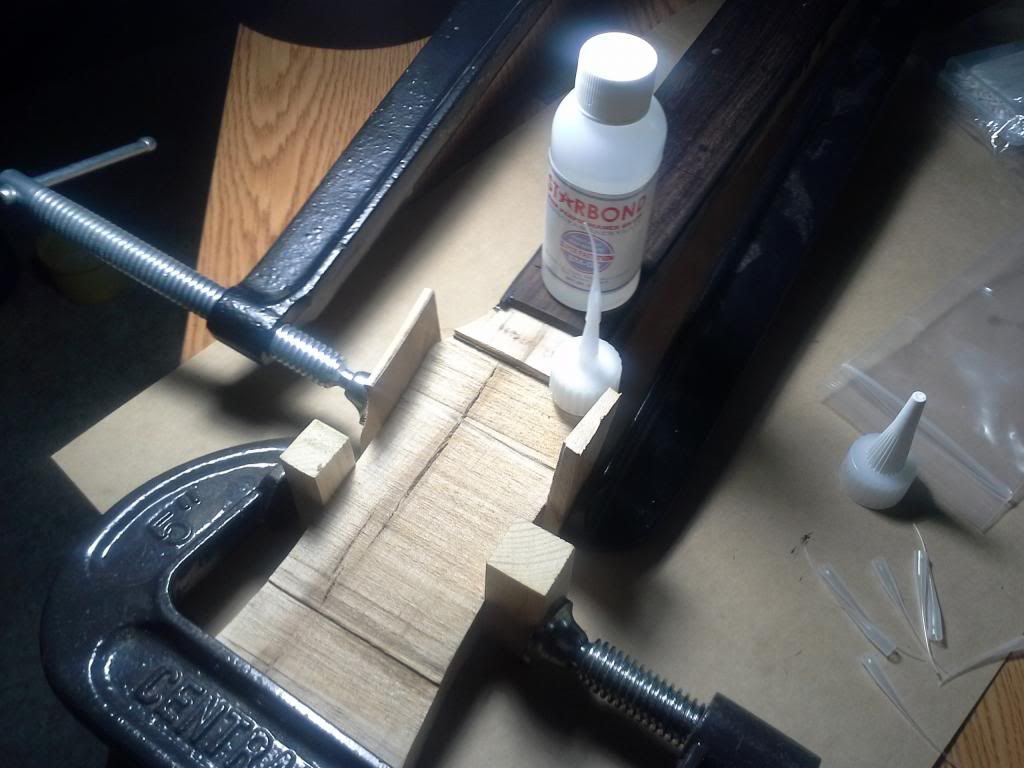
clamps
Image


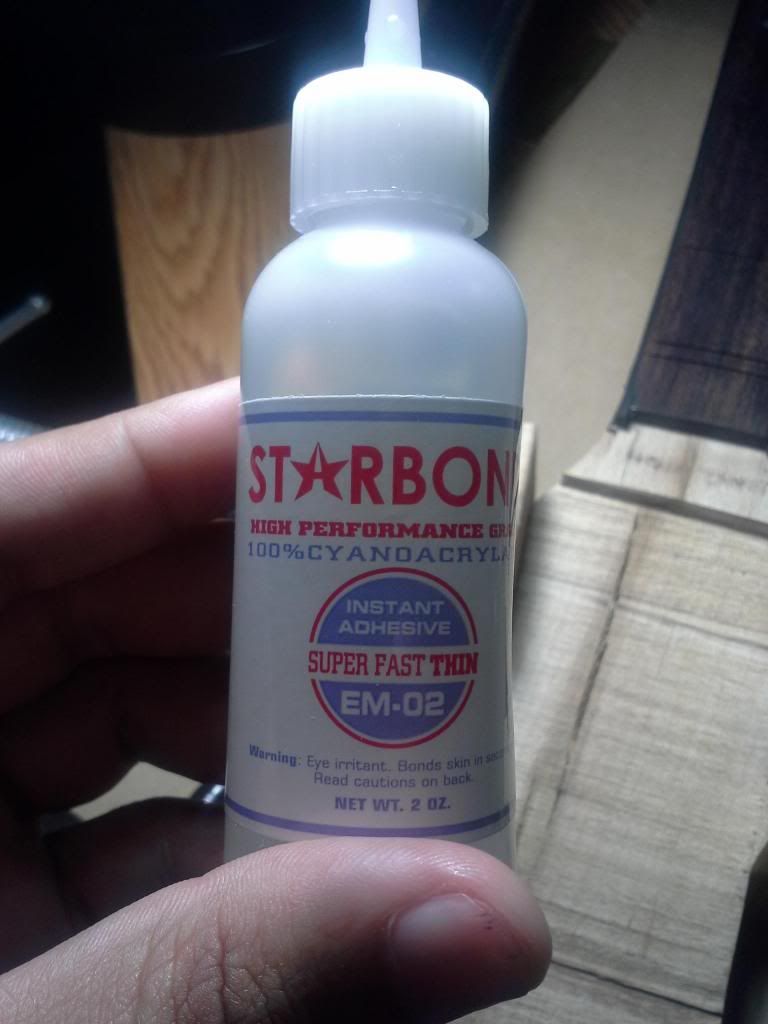
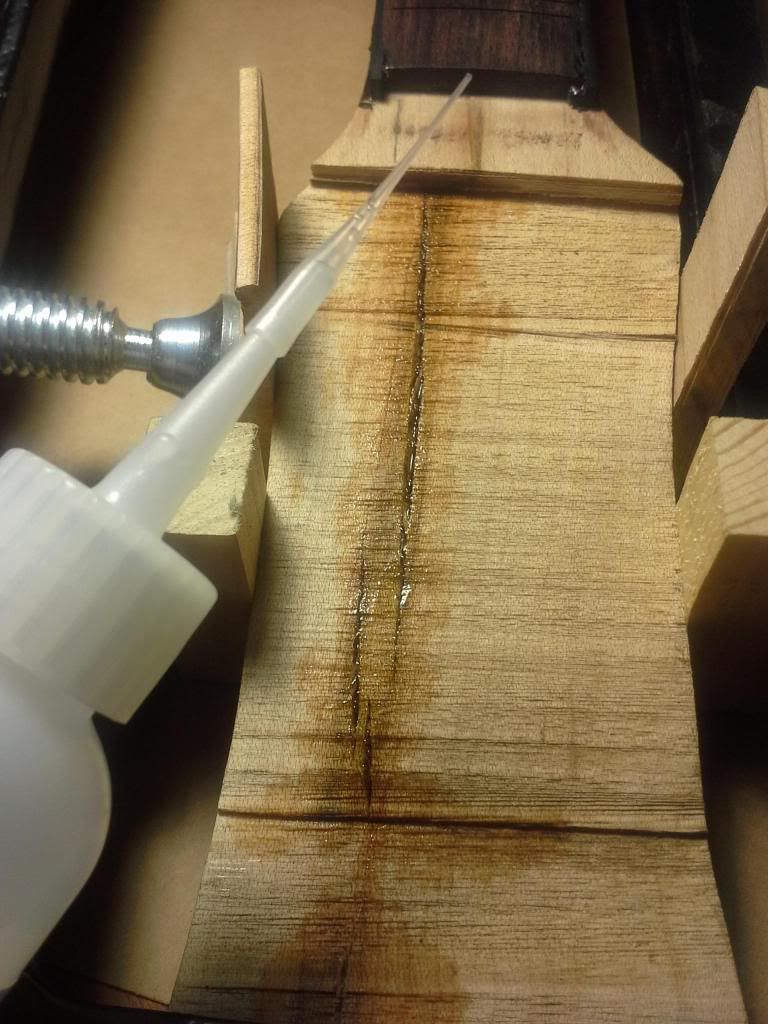
Thin super glue 3 layers applied into the cavernous crack
Image

Image

Image


After about 3 hours and several layers had cured, I used the cheaper thicker stuff to fill up the gap

Image


I thought superglue was supposed to harden quickly...


Image

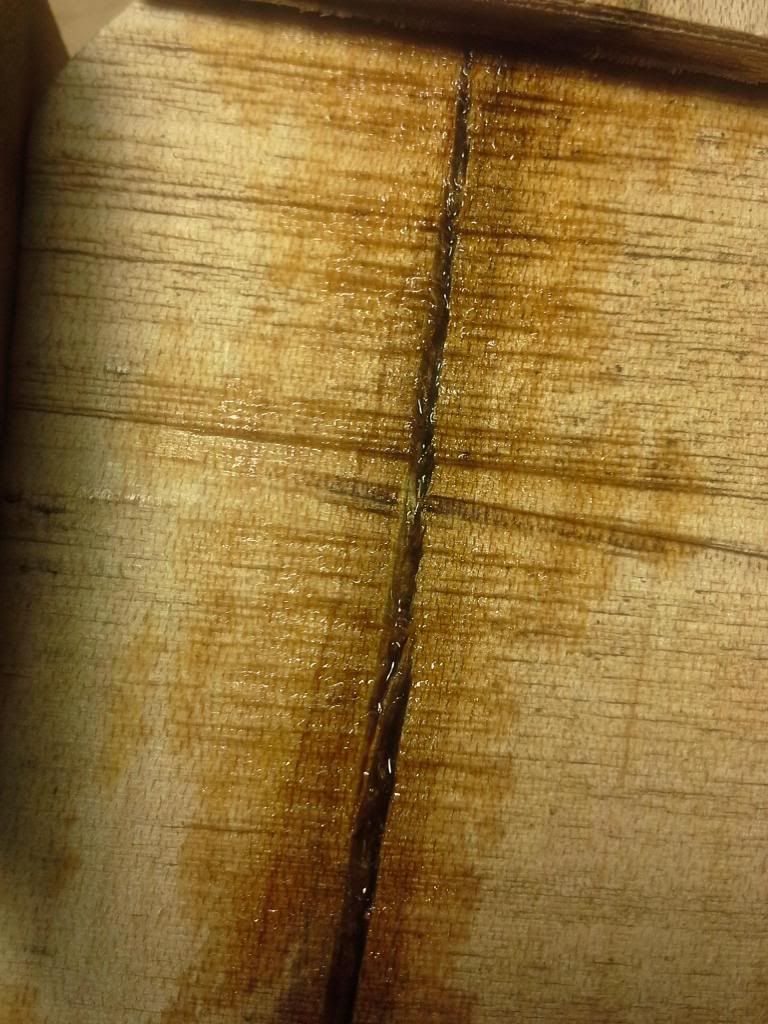
and 12 layers thick

Image

Image

Still not filled all the way. But Im confident most of the pores and crannies have been filled underneath.

Thanks Bob Shade thanks BlackieOnasis for the suggestions. I can move on to sanding down the headstock.
"If the women don't find you handsome, they should at least find you handy."- a wise man

ludobag
Top Producer
Posts: 291
Joined: Sun Nov 20, 2011 9:32 am
Location: France
Contact:

Re: WOOD ROT! suggestions.

Postby ludobag » Fri Feb 07, 2014 12:00 pm

how much deep is the crack ?
cause maybe when you have shaped the headstock it will be disapear ?

one technics to avoid that before working on a wood block
take a diapason (in french it is a fork tuner the thing you hurt and give you the A note)
hit the diapason and go all over the wood ,if there is crack you will heard it cause the sound change or the sound disapear
i don't do this often but when i suspect the wood to be not as good as it could be it is better before ,that way you can choose witch part you can use in the blank

Bob Shade
Master Contributor
Posts: 1364
Joined: Wed Jan 21, 2009 11:53 am
Location: Md
Contact:

Re: WOOD ROT! suggestions.

Postby Bob Shade » Fri Feb 07, 2014 2:21 pm

It looks like it could have been filled a bit more, however you still need to do alot of sanding so hopefully you will sand below the lowest point. You can still add more now before sanding if you want to fill it up first. One thing for sure, it is never coming apart.

Best, Bob


Return to “Mosrite & Clone, Projects, Parts & Accessories Q&A”

Who is online

Users browsing this forum: No registered users and 62 guests