Progress - the V3 is alive! Thanks to great understanding on the part of my wife and daughter I was able to put a full day and a half into the Mosrite project, and as a result it's a live guitar!
Friday night, neck shaping - I started where I left off with the front of the headstock. Here I used advanced technology (sandpaper wrapped around a bamboo vase) to shape the curve.
Here's the final, pretty smooth and close to the real deal.
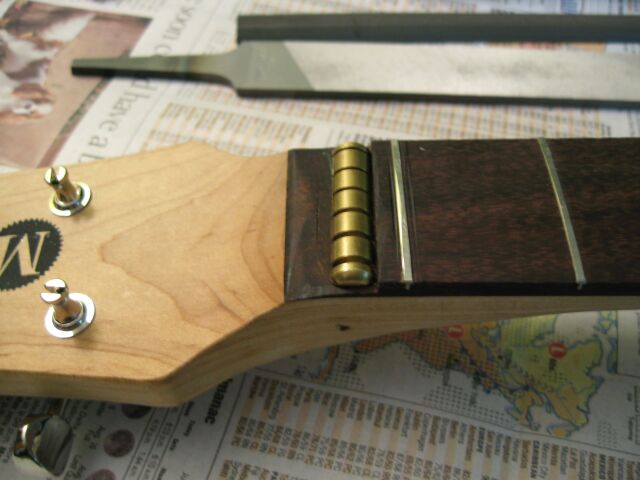
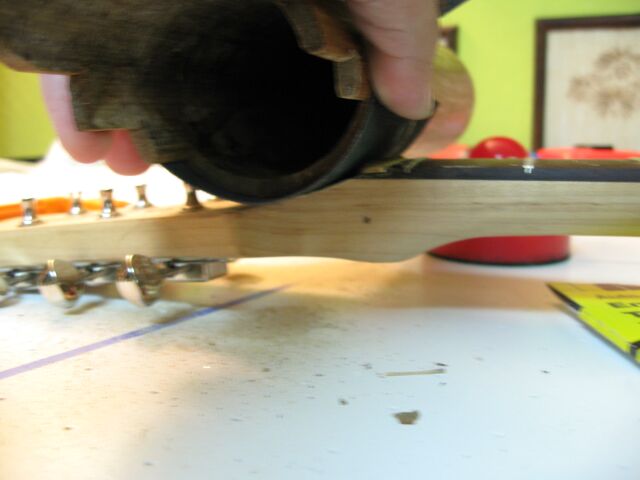
Next up, the back of the volute. Here's how I got it, an amorphous blob.
Using a rasp, round-back files and the above mentioned bamboo sanding block, I shaped the volute, again using my '66 as a visual guide. Here's the result in progress, with the headstock side done but still needing work on the neck side.
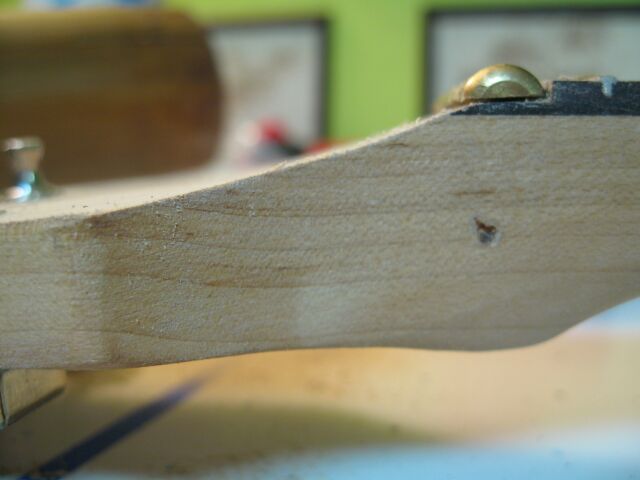
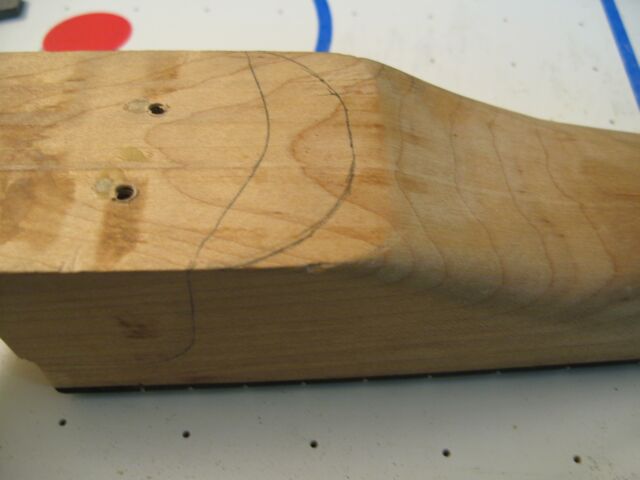
Finally for Friday, I penciled in the line where the heel of the neck meets the body and then roughed in the desired shape of the heel, based on my '66.
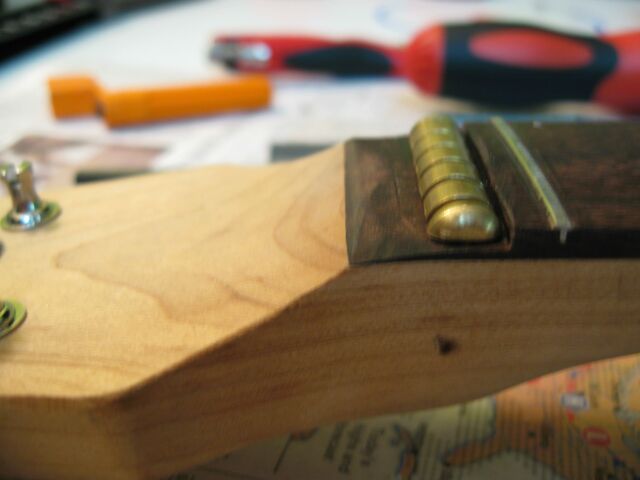
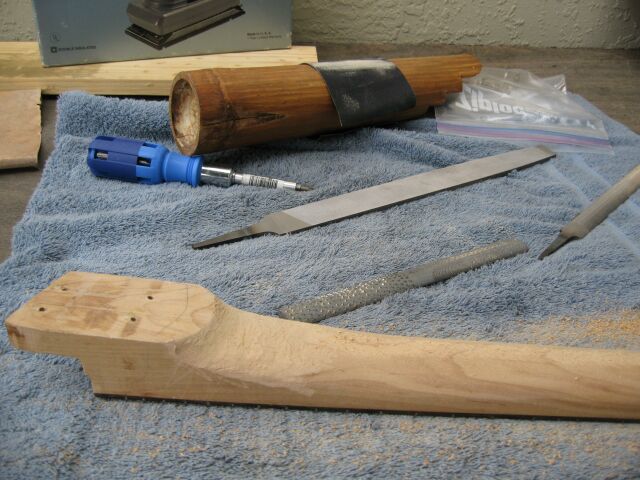
Saturday morning I started in on the heel. Here's the work in progress, with the tools of the trade in the background. I also used my dremel with a sanding wheel.
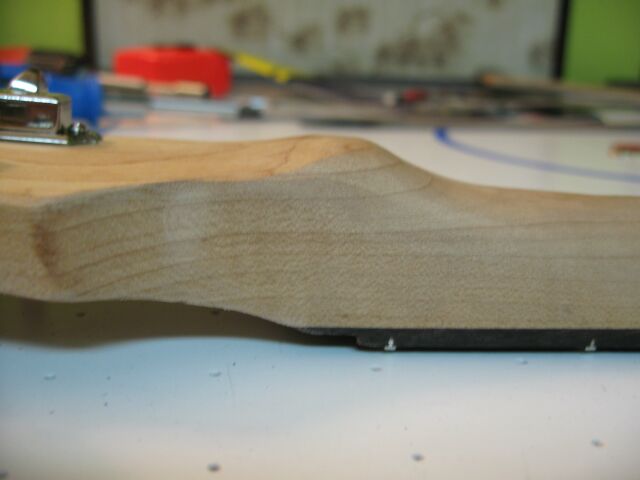
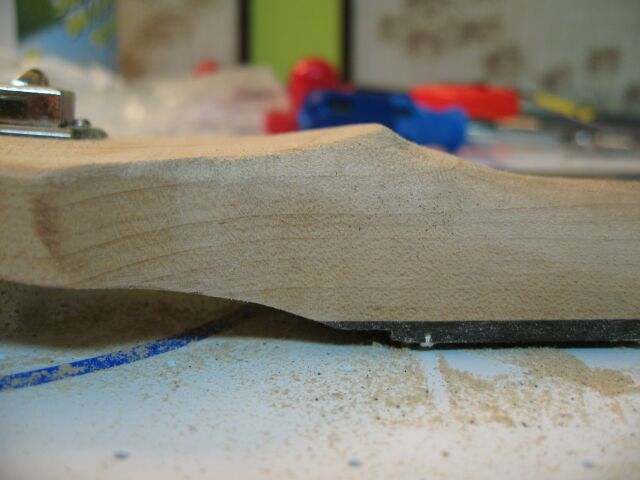
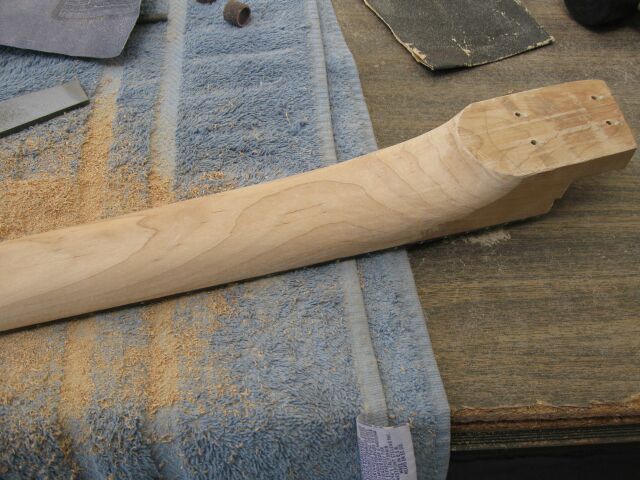
Once I got the heel and volute in rough form, I started on the neck profile. Here, I first filed the back of the neck down to the thickness I wanted, and then shaped the curve of the neck from there.
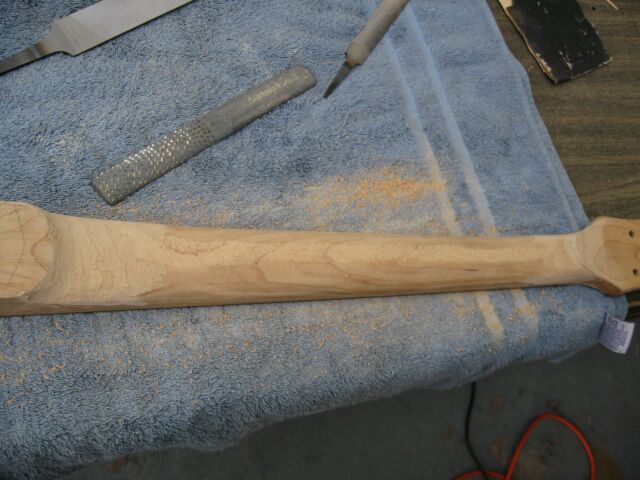
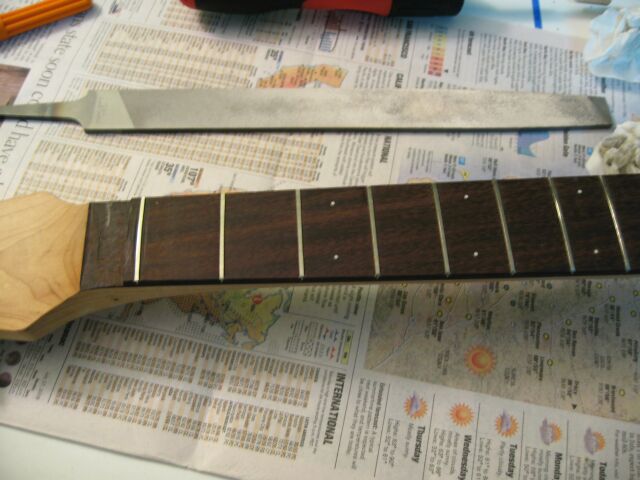
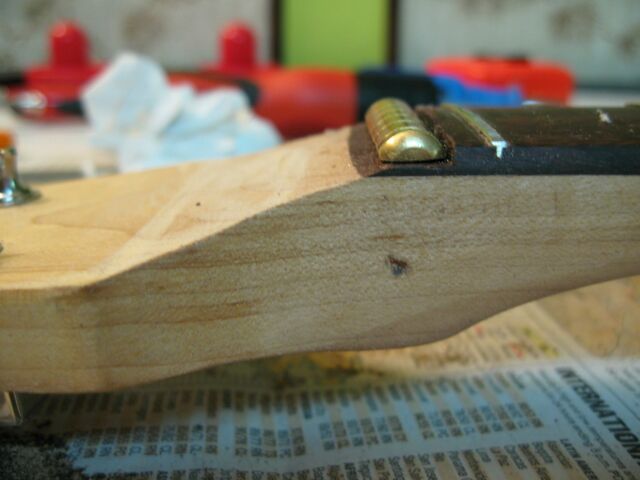
Hours and hours later - a neck profile! While I didn't use calipers, I kept referring to my '66 for visual cues on thickness, shape around the volute and heel and also for general feel. This neck is wider than the '66 and the profile I wound up with is more of a "U" than a "C" but it feels nice to my hands. I started with the rasp, then files, then dremel, then a power sander. After than I moved to progressively finer sandpaper, starting around 180 and moving to 600. This picture was taken before I did the sandpaper.
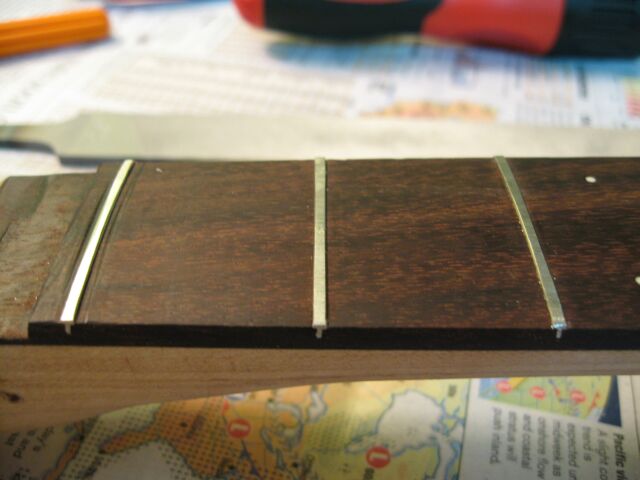
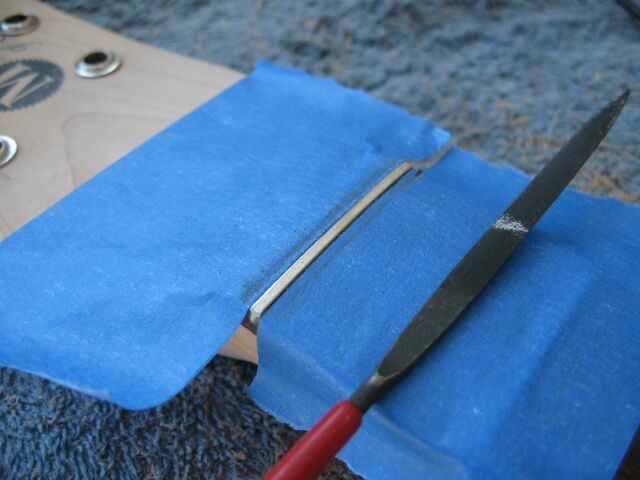
Next, fret dressing. I used painters' masking tape to protect the fretboard and a small file to round over the edges and ends of the frets. Utterly inexact, I did a couple of passes on each fret.
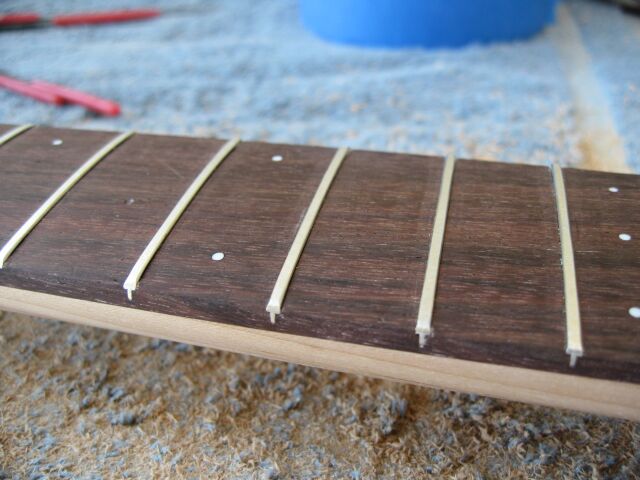
Speed frets!!!!
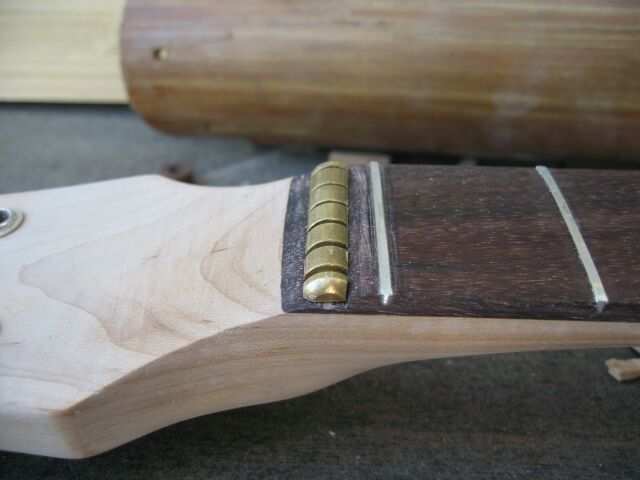
Here's the corner cut in the string nut. Looking at my '66 it seems the barrel is cut to where the notches are flush on the zero fret side, so that's what I did here, first with a dremel cutting wheel and then a hand file to smooth it out.
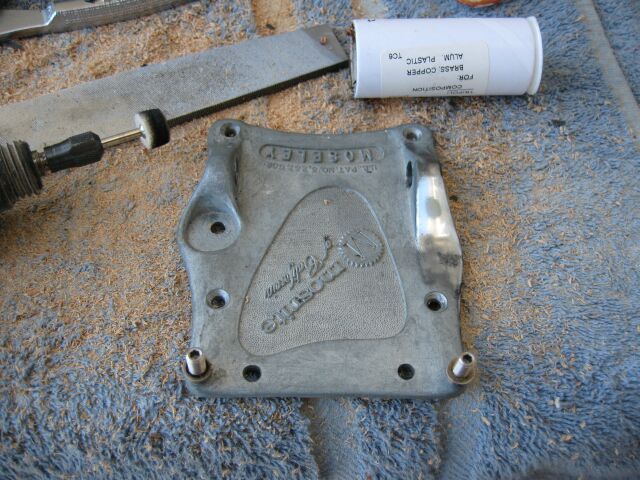
Next up, polishing the vibrato plate. As Danny suggested, the plate is aluminum and took pretty well to polishing. I tested it on the back, then moved to the front. I used my dremel buffing wheel and went through about a half dozen buffing pads in the process.
Further along.
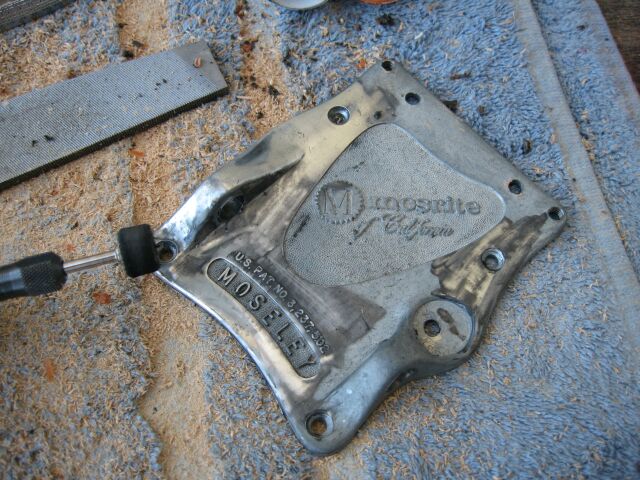
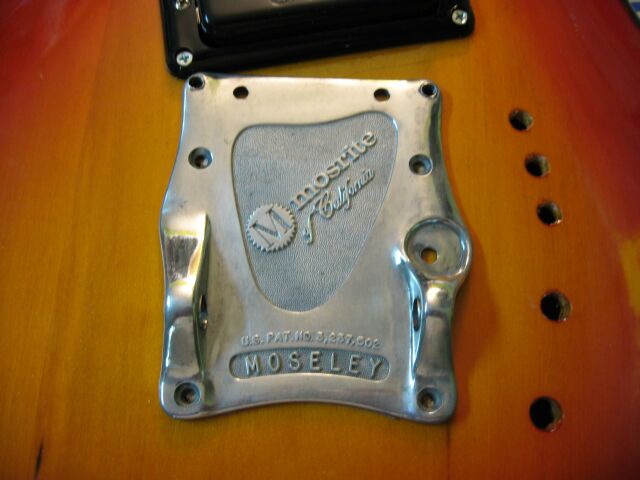
After buffing I went over the plate with a soapy toothbrush and here are the results
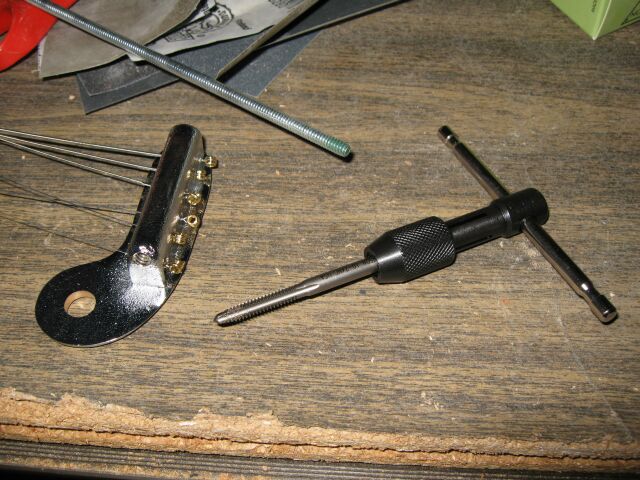
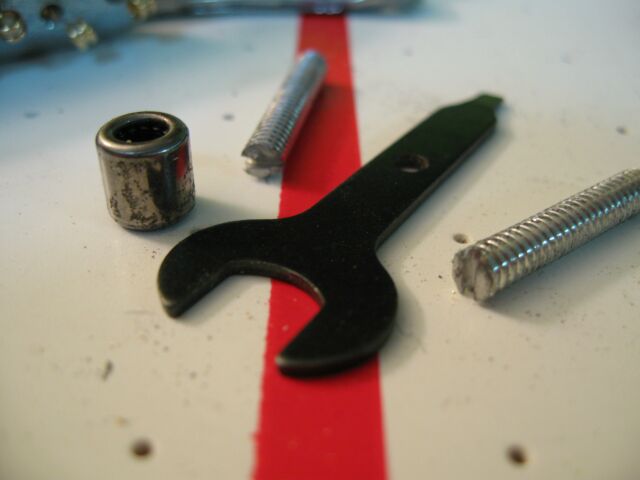
Next up is attaching the string guide to the vibrato plate. The bearings are Torrington B36. I decided that since I'd probably need to take it apart in the future, I'd use screws to hold the string guide. I got a thread reamer and cut the threads into the guide.
After that I took some threaded rod, cut it to size and notched the ends - custom set screws!
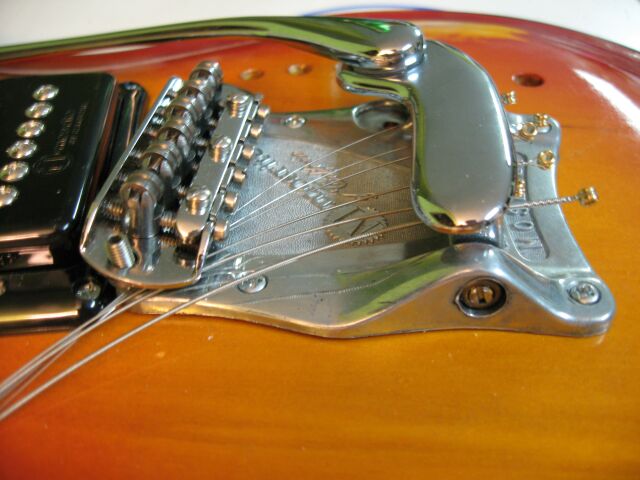
The final vibrato assembly.
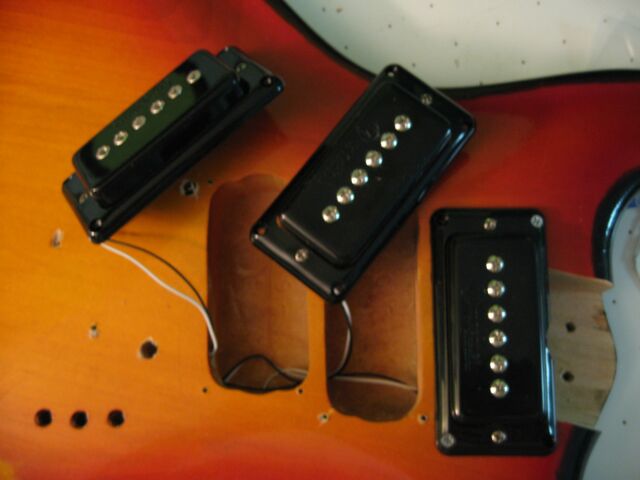
Here's the pickups showing the wire path to the rear controls.
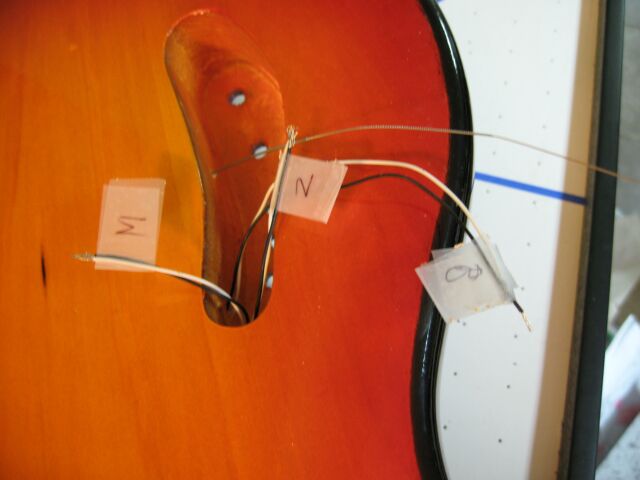
As I passed the pickup leads into the control cavity, I made sure to label them so I'd know which was which when I got to wiring. Here you can also see the bridge grounding wire. I used a wound guitar string, I think a D string.
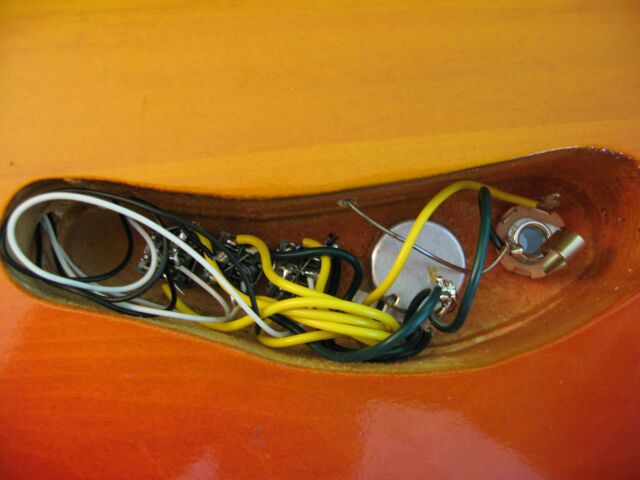
Sunday morning, I wired the guitar up. You can see the control cavity is cramped. Amazingly, when I plugged it in, there was only one shorted ground, which I was able to fix quickly.
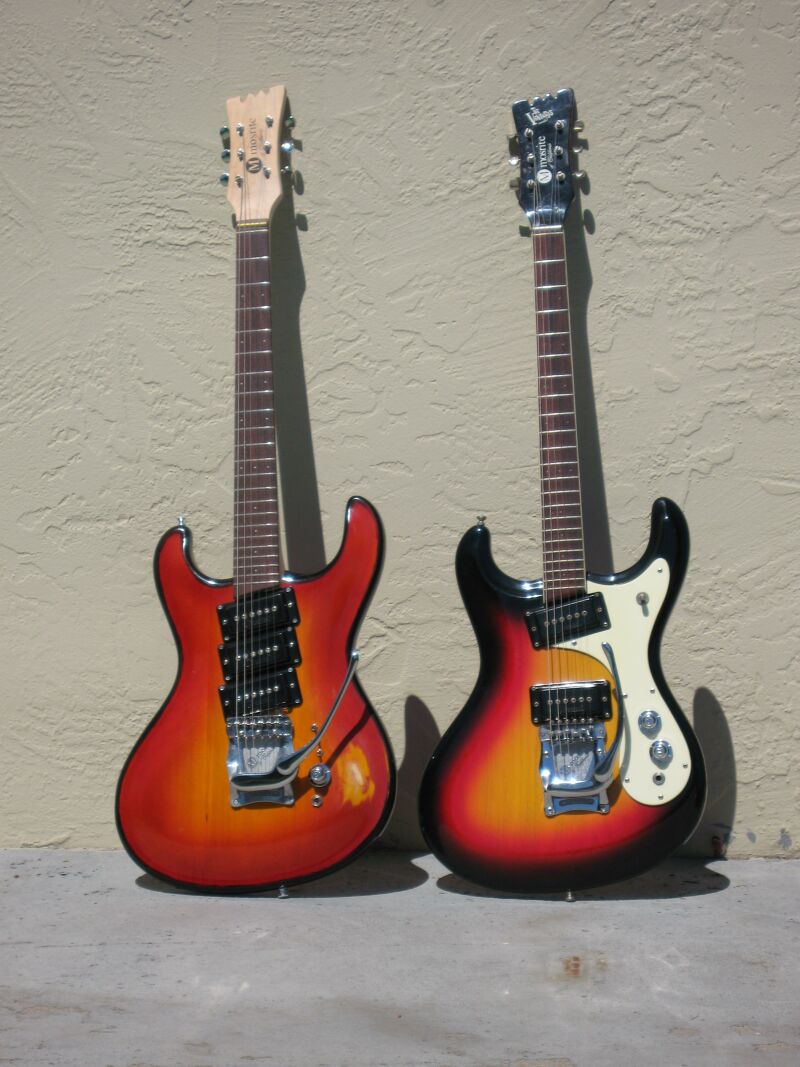
Here she is introduced to her older sister, the '66. The sound with the EFElliot pickups is fanastic - there is no question at all it's a Mosrite. Also, the switching allows you to select the phase of the pickups, so there's a wide range of tonal options. Overall, I'm pretty well stoked. It's amazing that someone with such basic woodworking skills as myself can get something like this together. I've still got some things left to do, mainly add side fret markers, cut a rear control cover and put some kind of finish on the neck, but, after all this, it's ALIVE!!!!